Create and perfect your AeroPress recipes
Aeropress : Brew Guide & Calculator
Since its invention in 2005 the AeroPress has gained a cult following among coffee enthusiasts baristas and home brewers alike. Its simple yet ingenious design allows for an incredible range of brewing styles from a bright clean cup to a rich full bodied extraction. Whether you prefer a filter like coffee a bold espresso style brew or something entirely unique the AeroPress makes it possible.
One of the things we love about AeroPress is its endless flexibility. Small changes in grind size brew time or pressure can completely transform the final cup making it one of the most experimental and customizable coffee brewers out there.
To help navigate this wide world of AeroPress brewing we have created an advanced AeroPress brew calculator. Whether you are using classic recipes or adjusting the variables to develop your own the calculator allows you to fine tune each parameter and explore different brewing styles with ease. You can even share your recipes with friends and fellow coffee lovers.
After the calculator we dive deeper into the different concepts and techniques surrounding AeroPress brewing helping you understand the key factors that shape your coffee.
Aeropress Calculator Instructions
This calculator helps you dial in your perfect AeroPress brew by dynamically generating a detailed, step-by-step recipe based on your inputs. Start with a preset recipe—from standard methods to championship-winning techniques—or design your own custom brew.
1. Select Your Recipe
- Choose from a variety of preset recipes (e.g., Standard, Inverted, Competition winners, or coffee personalities like James Hoffmann and Tim Wendelboe), or select "Design My Own" to create a custom recipe.
2. Input Water & Coffee Amounts
- Enter your desired water (ml) and coffee (g) amounts. The calculator automatically computes the coffee-to-water ratio and updates the summary.
3. Customize Advanced Settings (Optional)
- Reveal advanced options to adjust parameters such as brew time, water temperature, grind note, and brewing techniques like inverted, bloom, bypass, and agitation.
- Tweak these settings to experiment with different extraction profiles and fine-tune your method.
4. Review Your Brew Instructions
- The calculator generates clear, step-by-step instructions that reflect your chosen recipe and any custom modifications.
- Instructions update in real time as you adjust your settings.
Additional Features
- A built-in brew timer helps you keep track of steeping times for optimal extraction.
- Easily share your custom recipe via a shareable URL or copy the recipe text with one click.
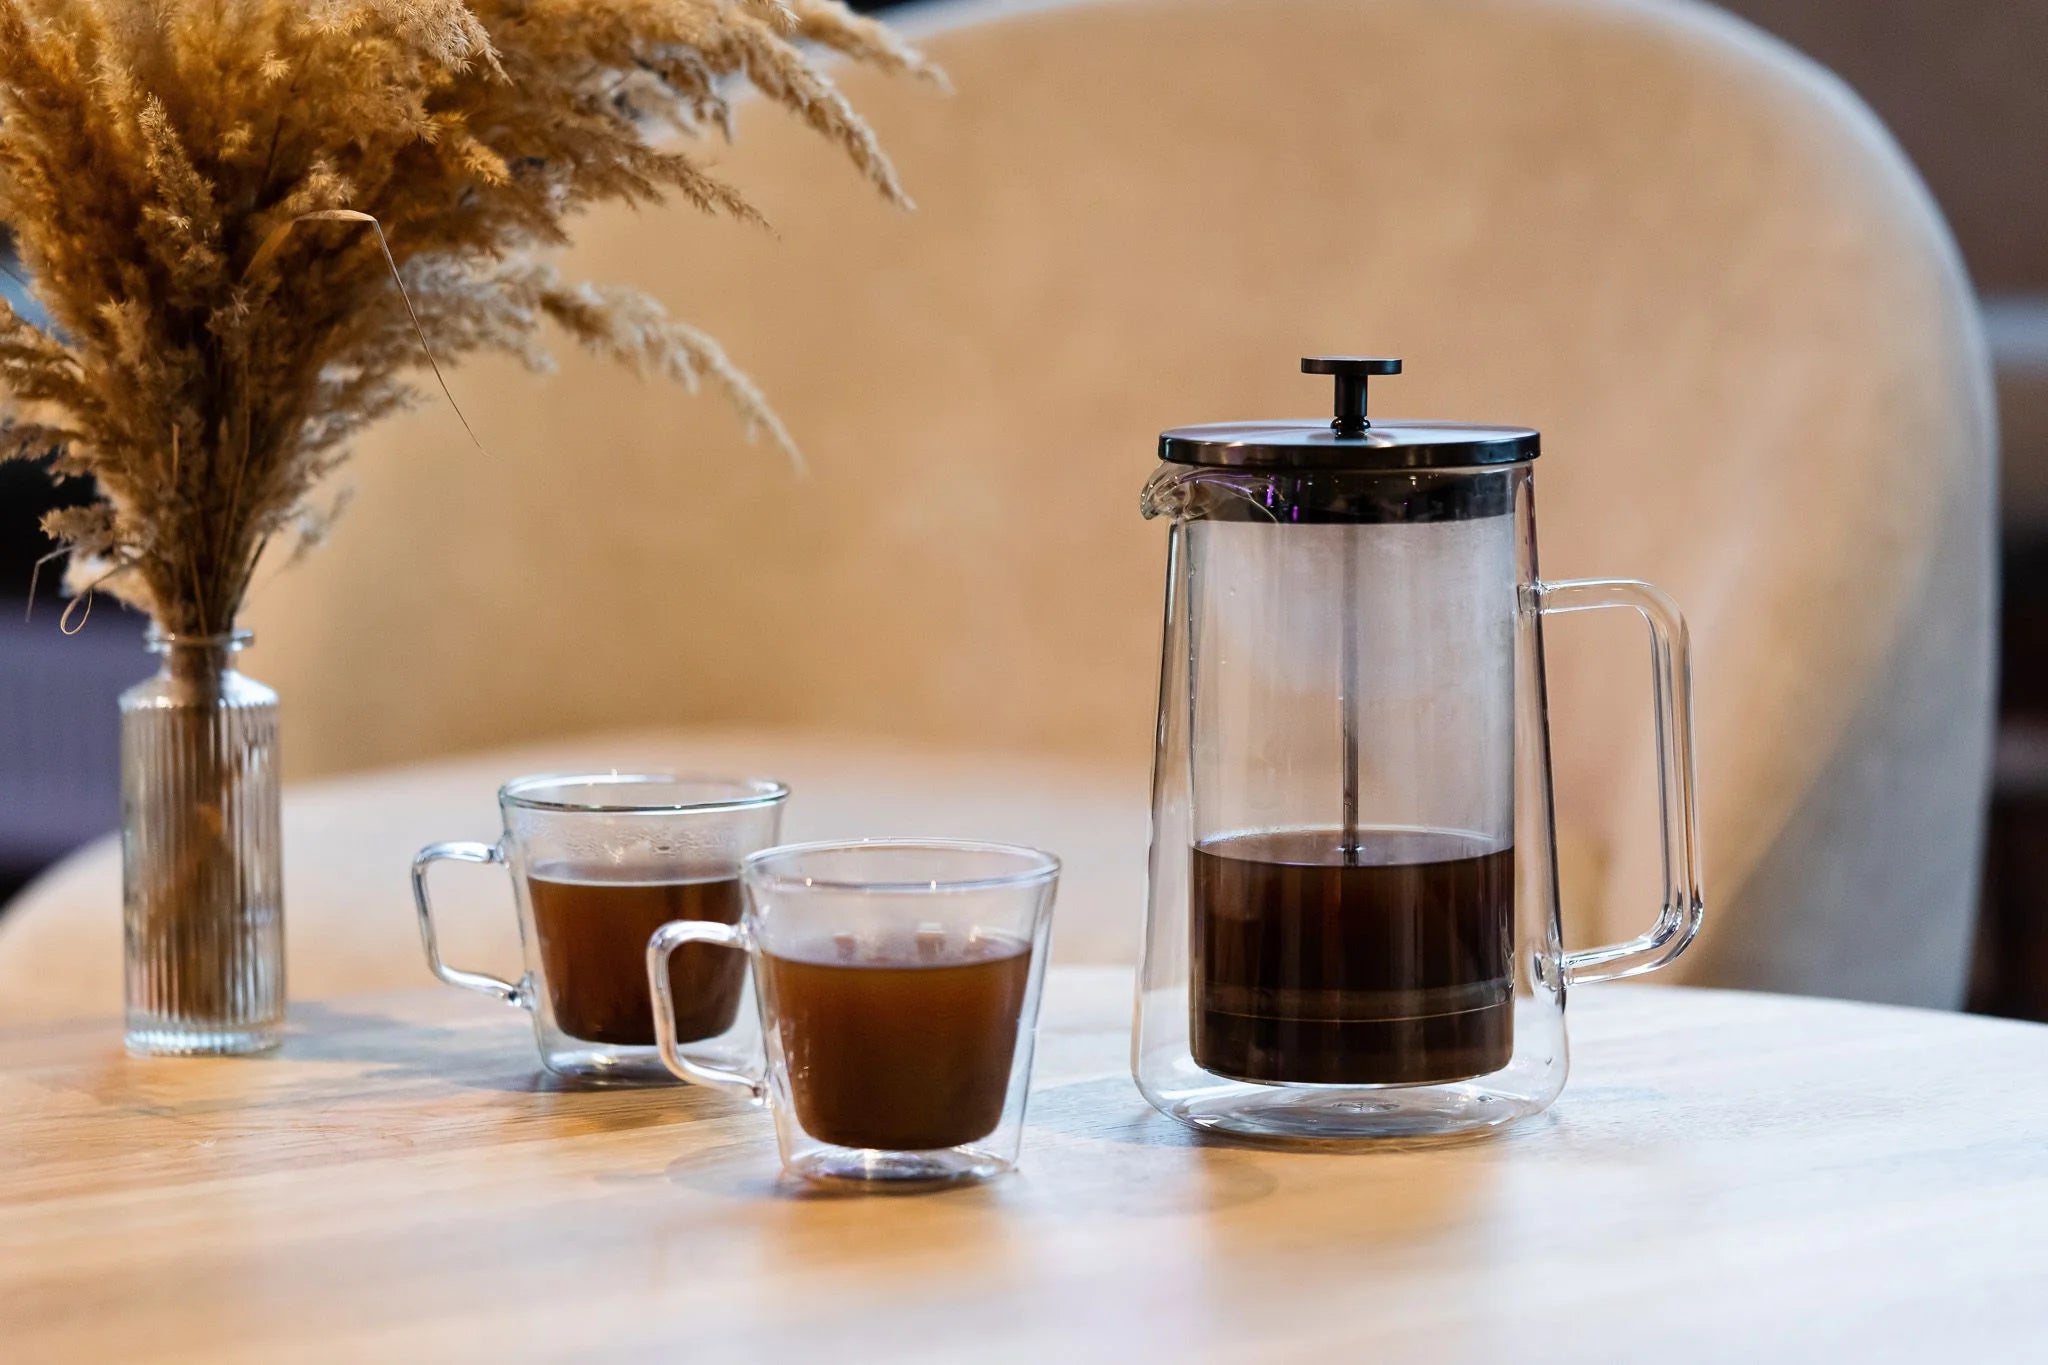
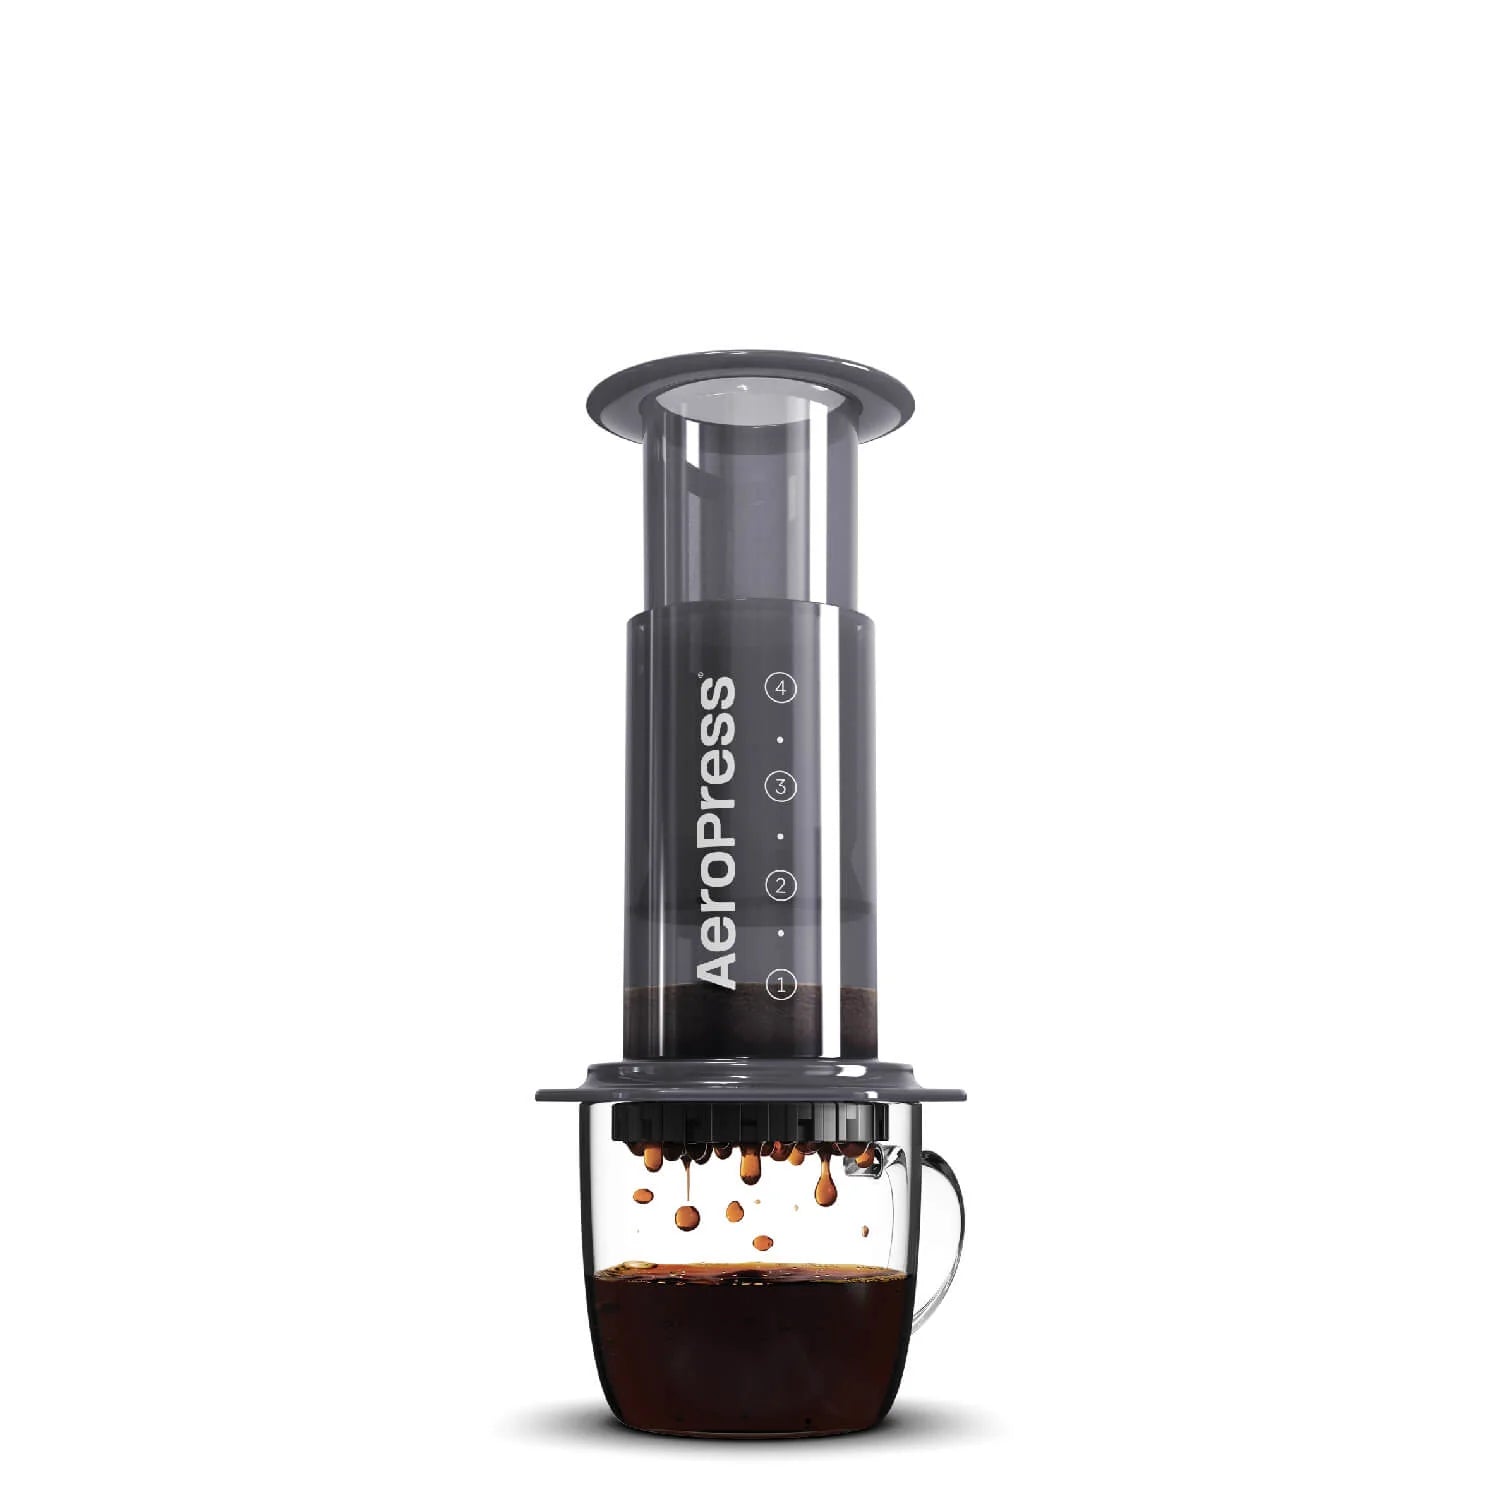
Our recommendations
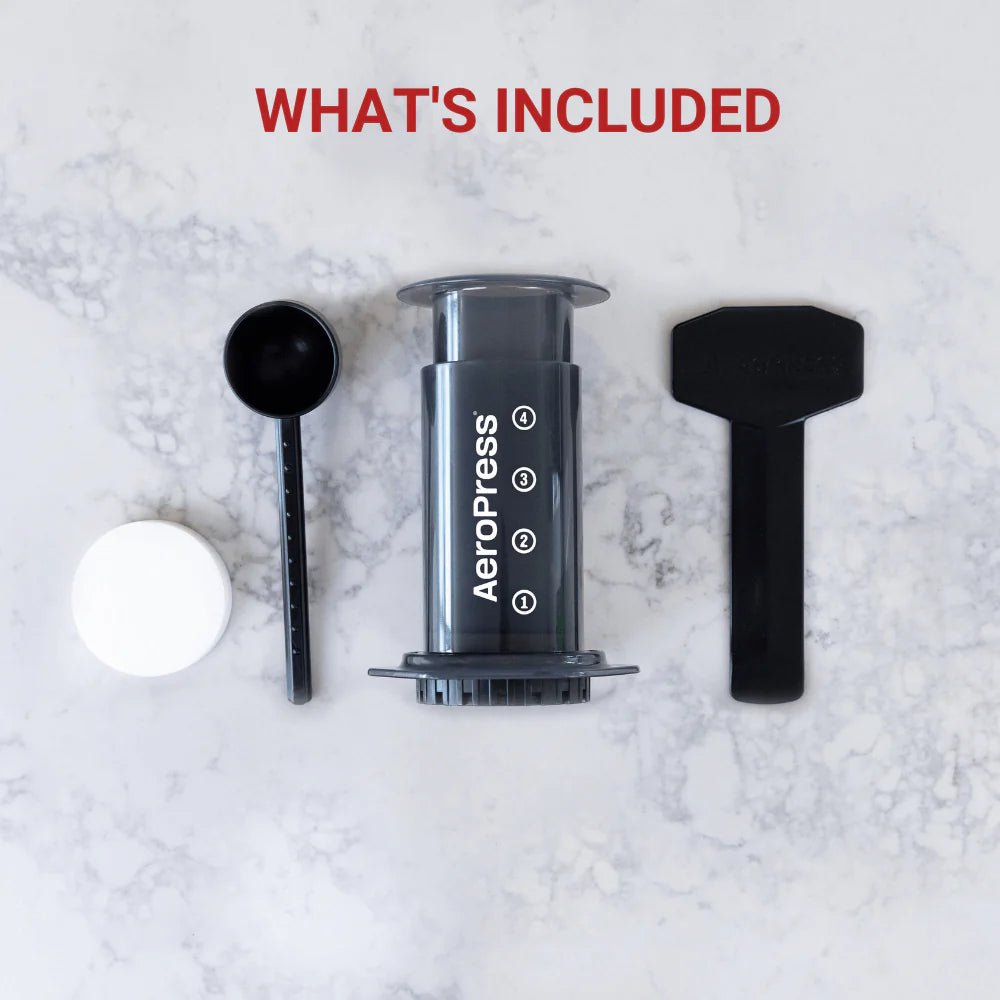
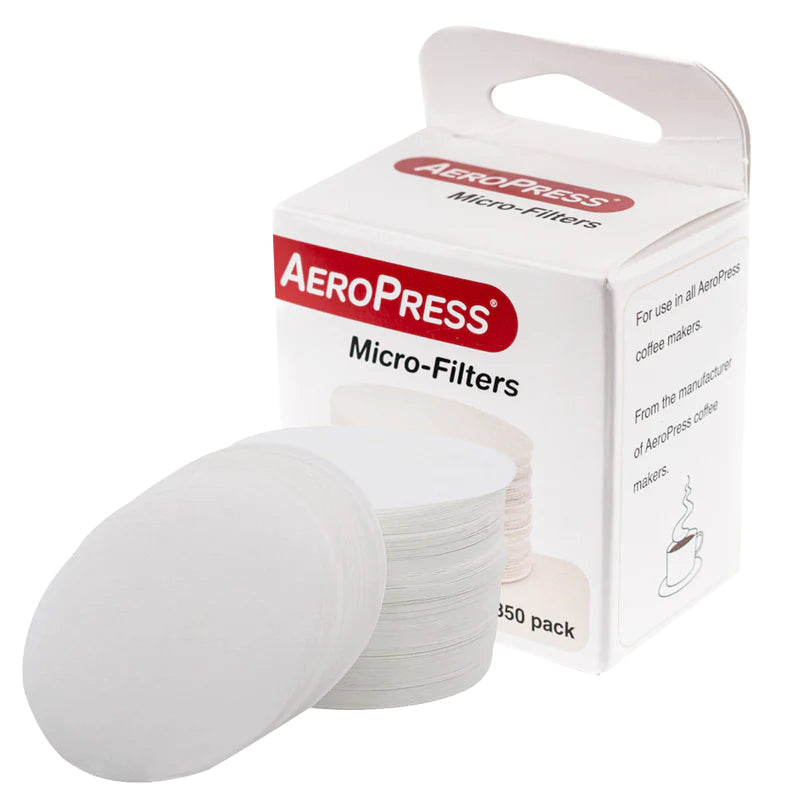
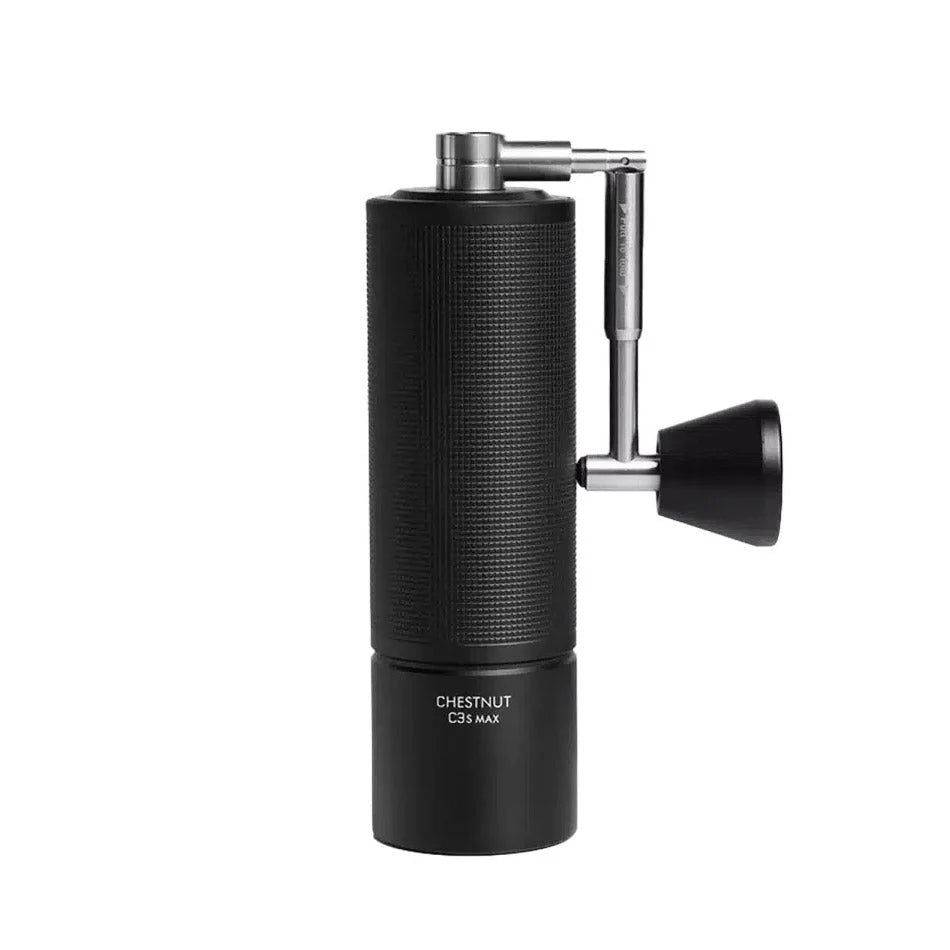
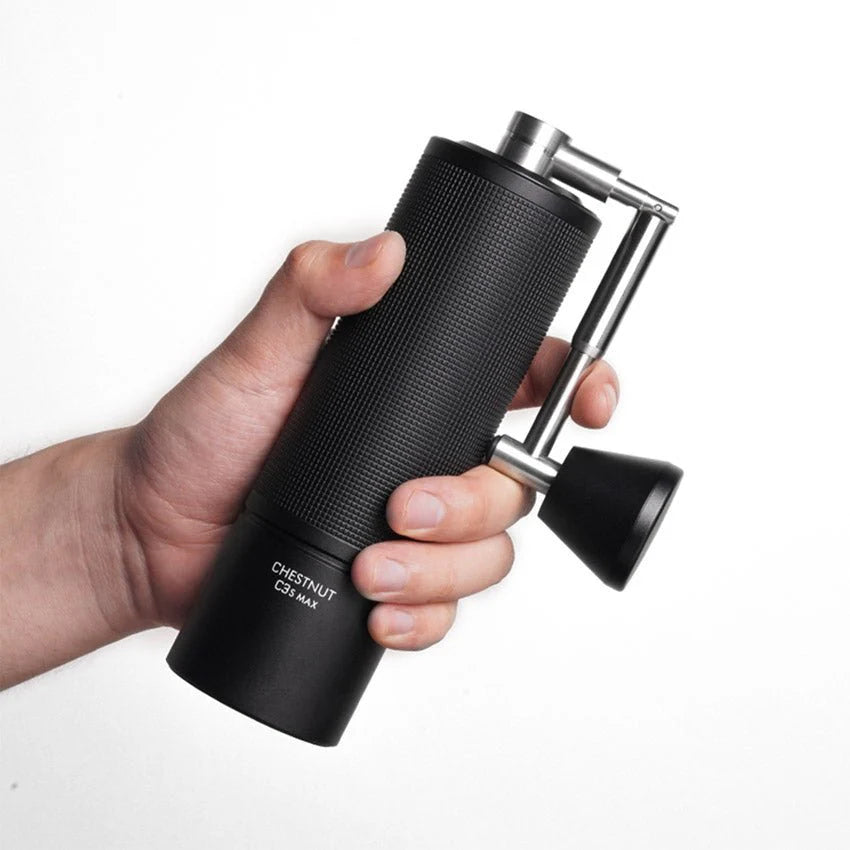
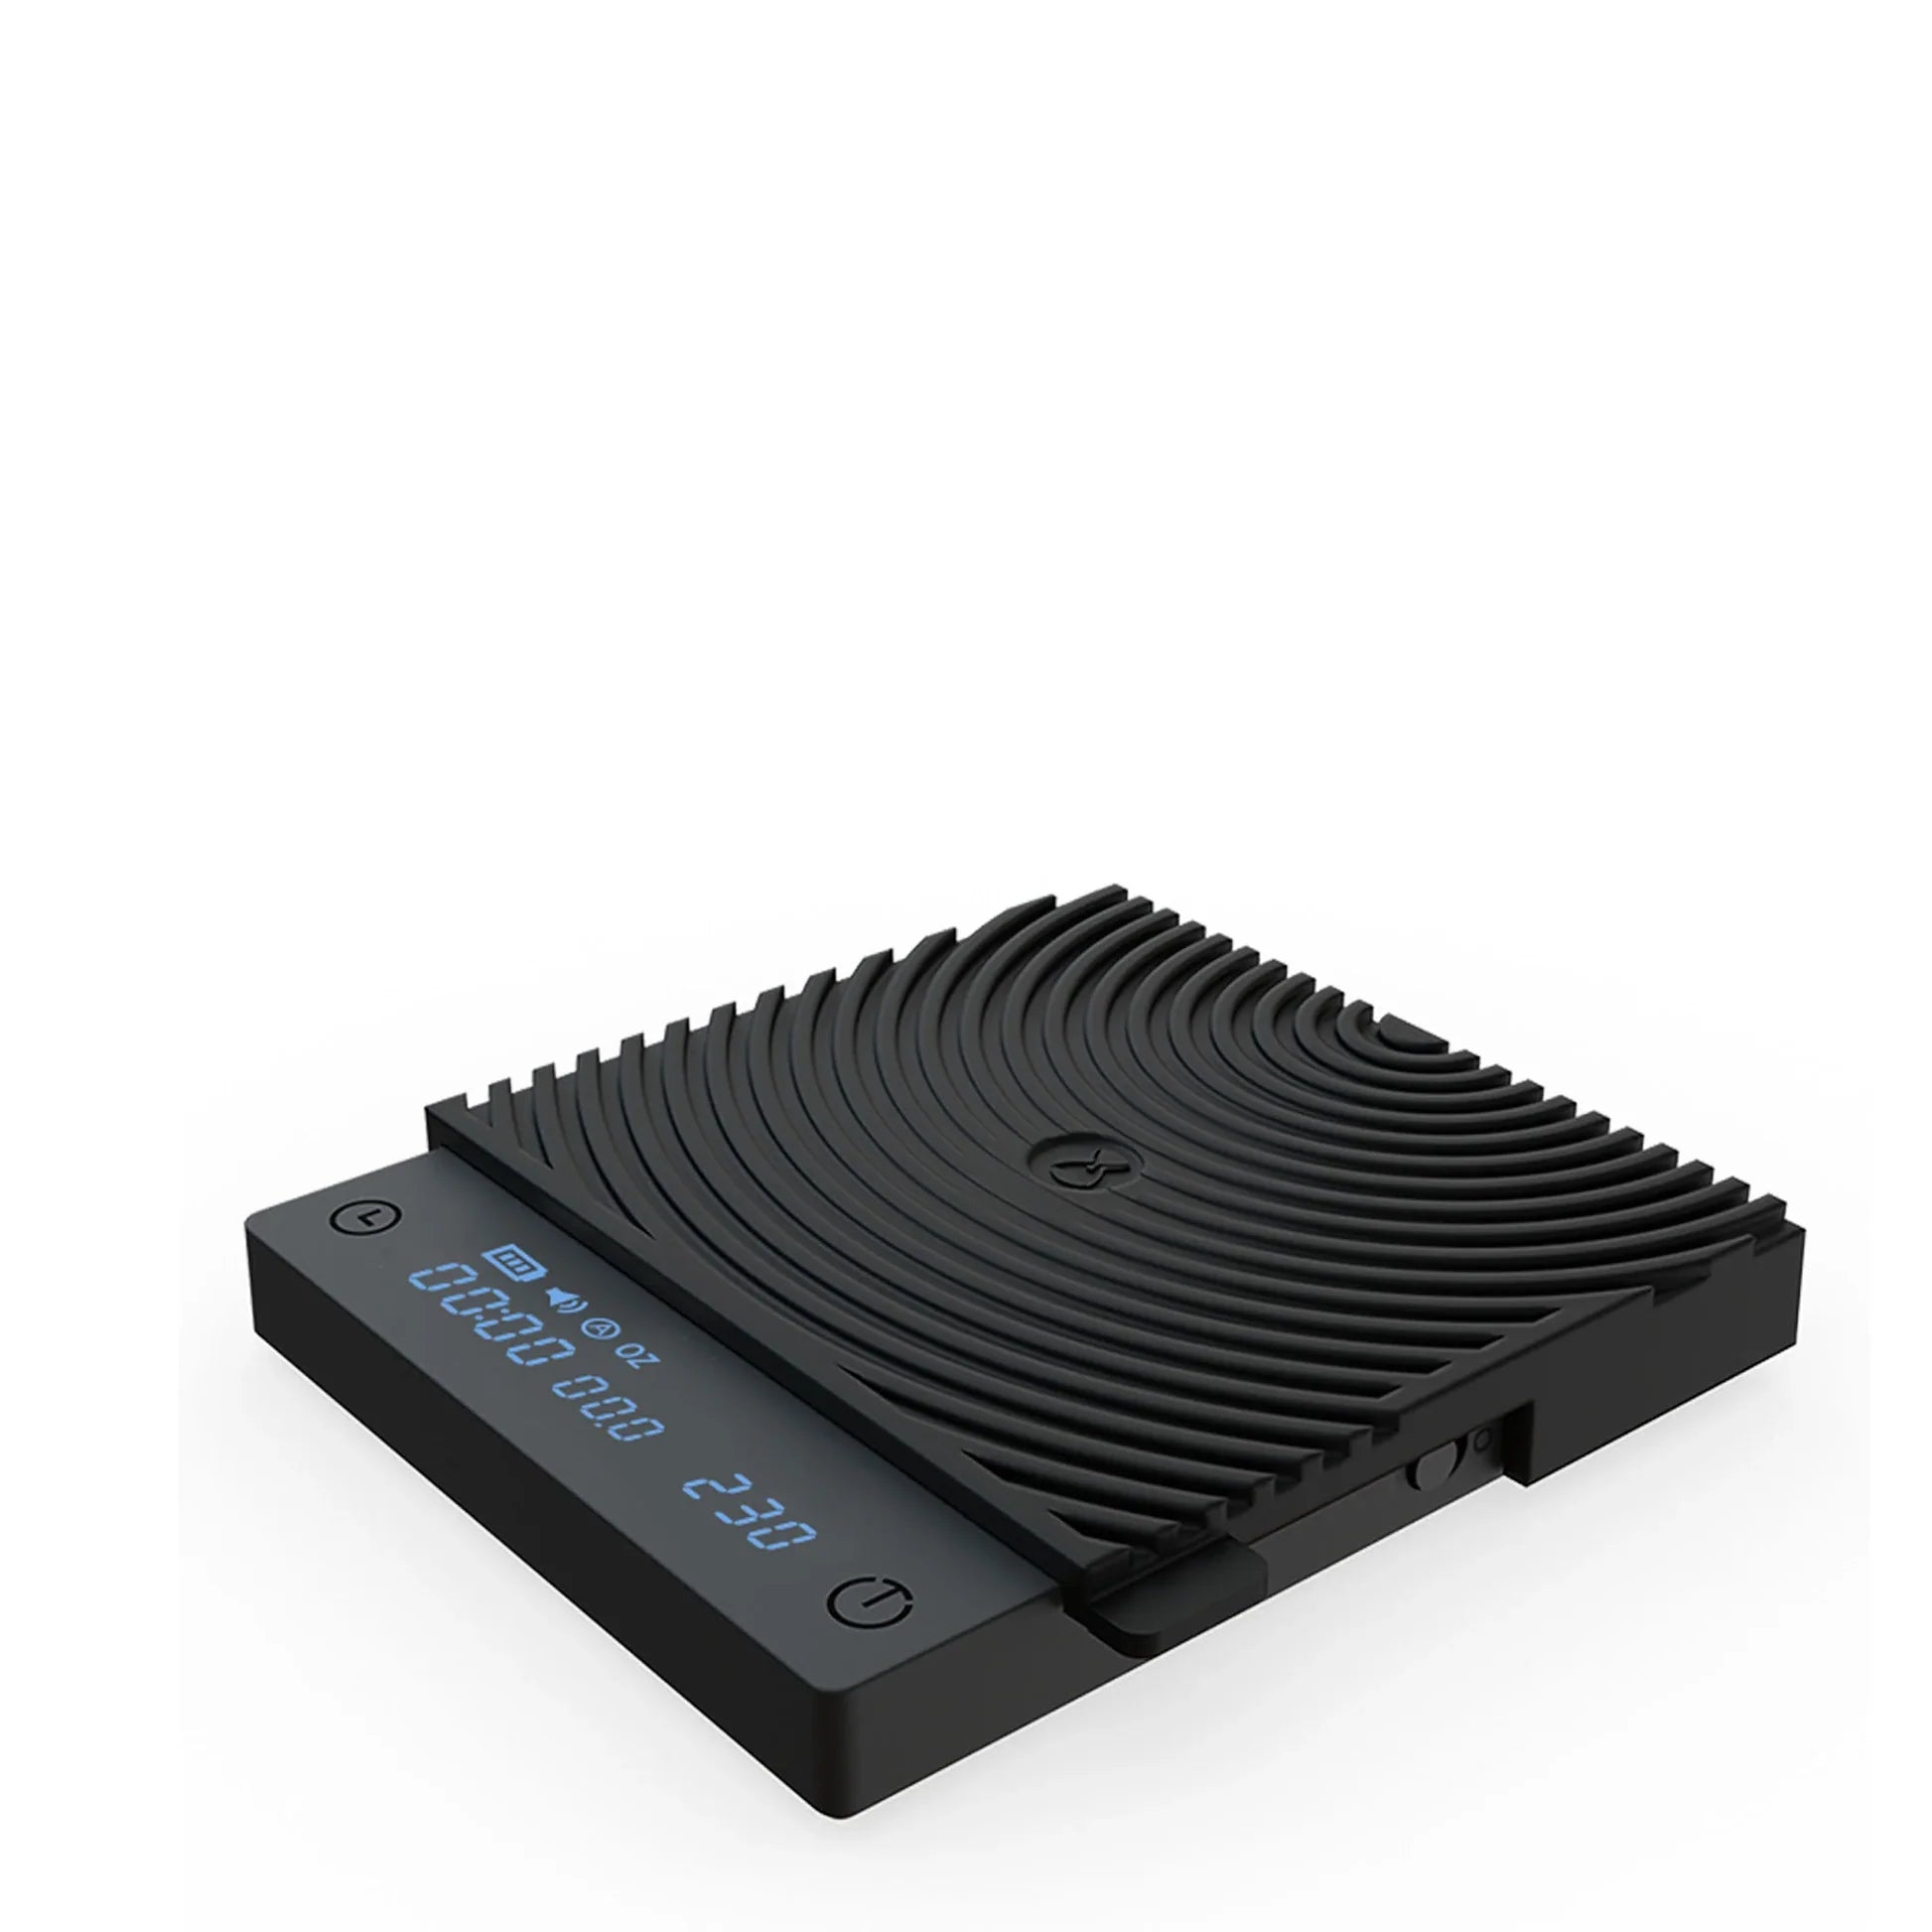
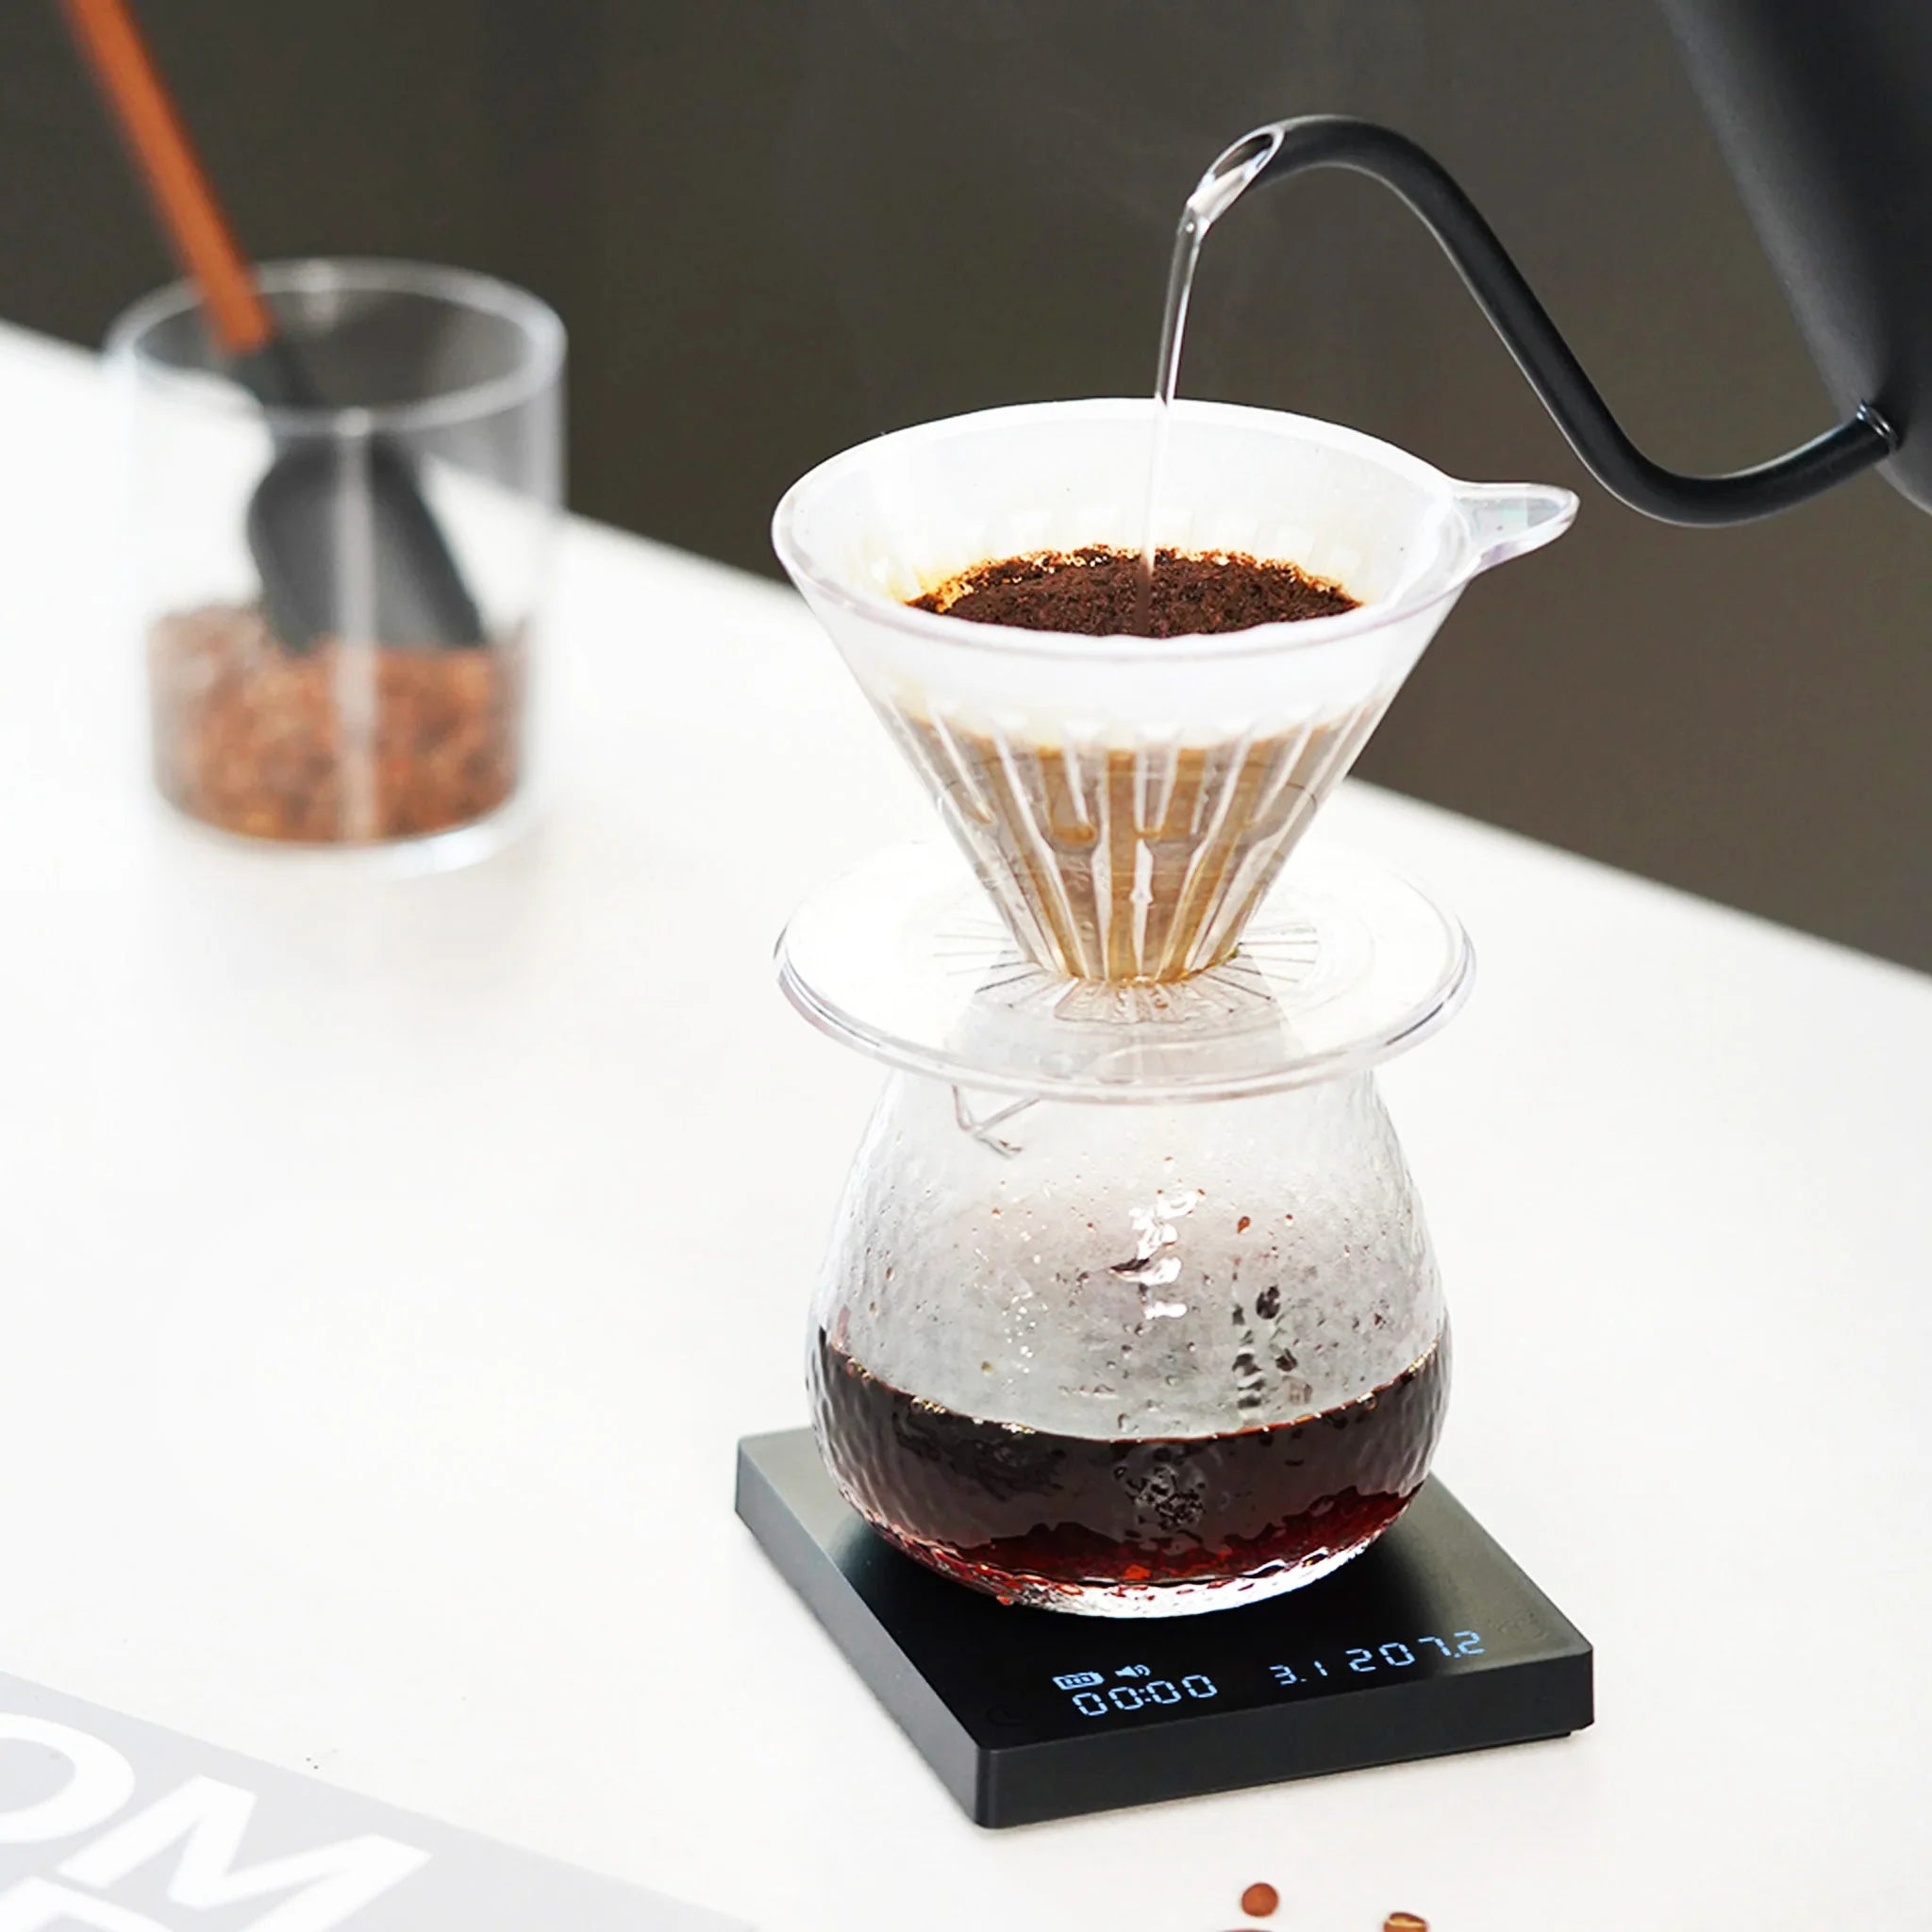
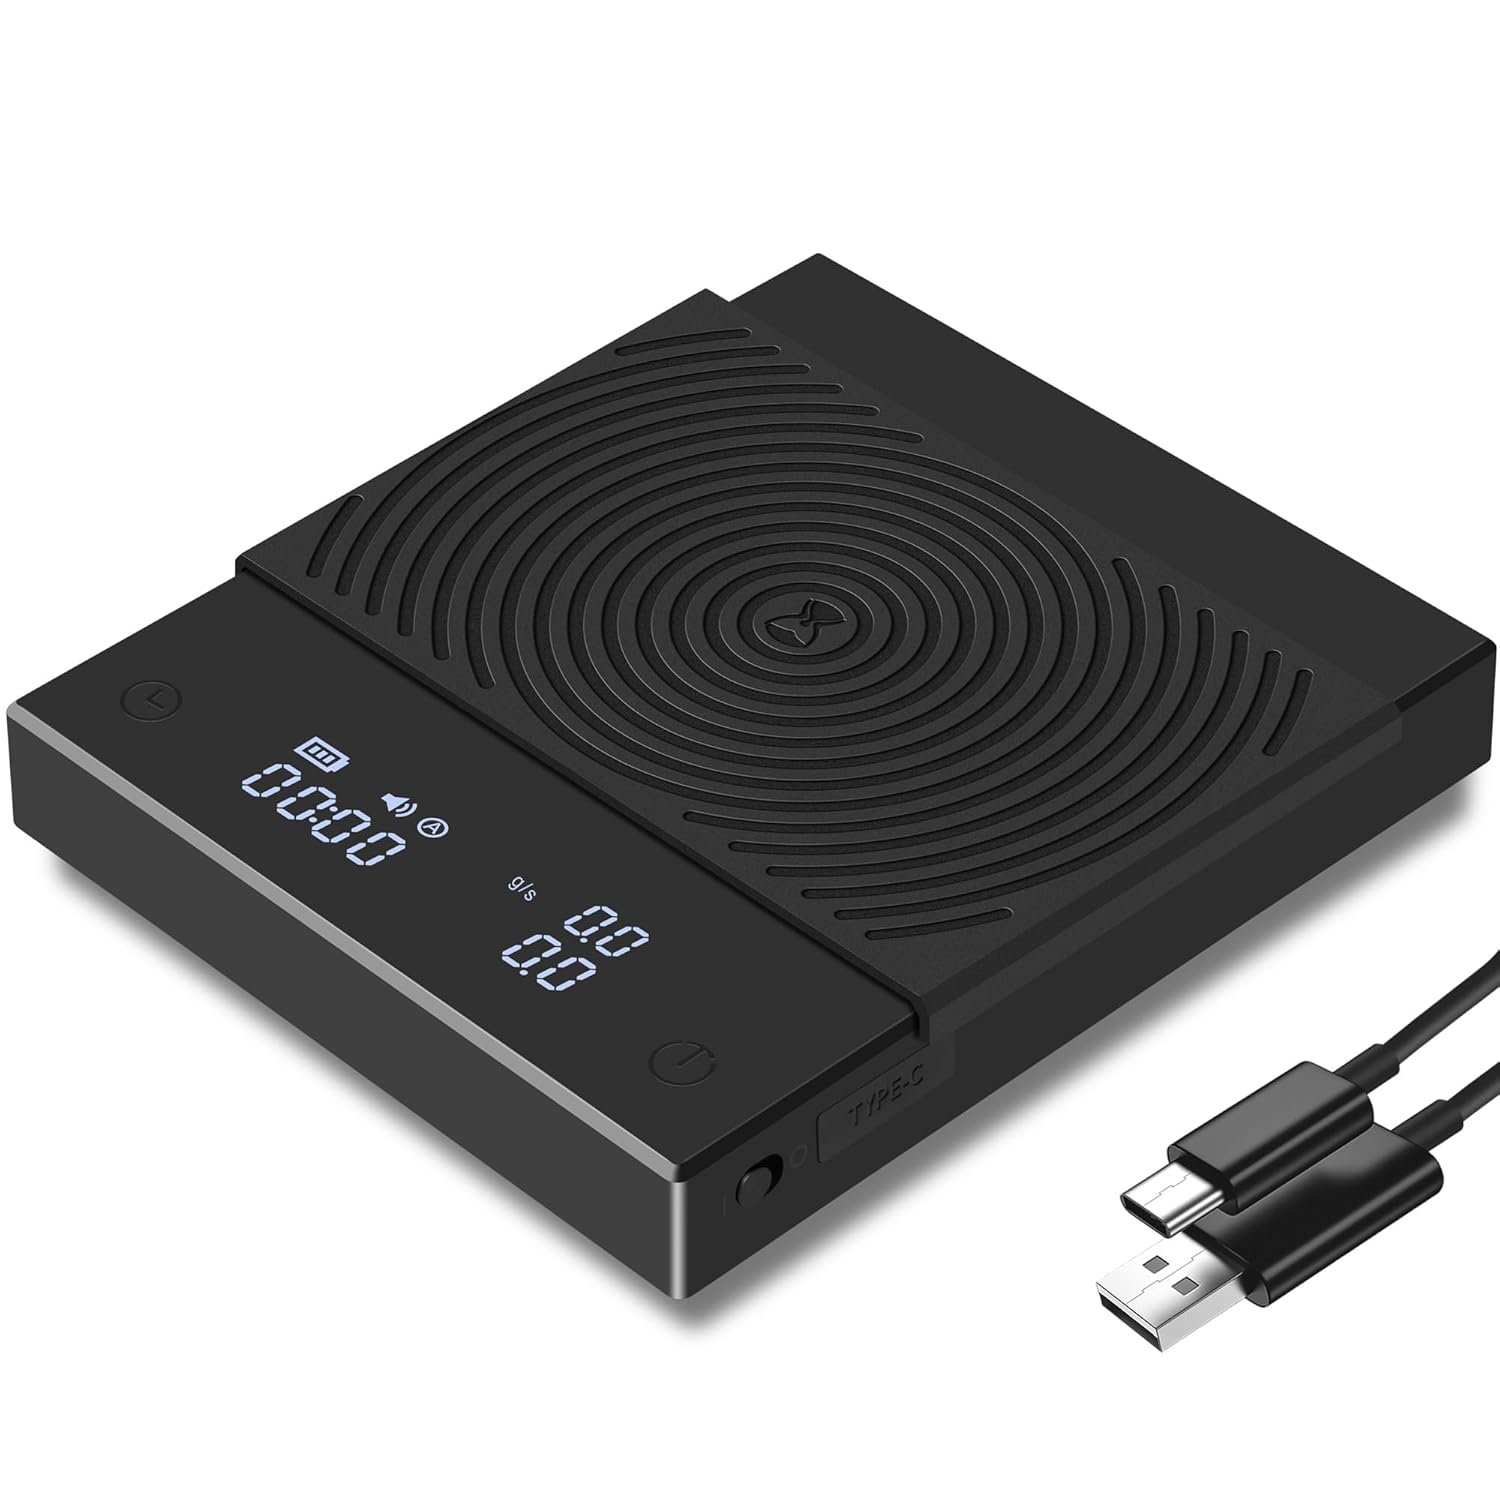
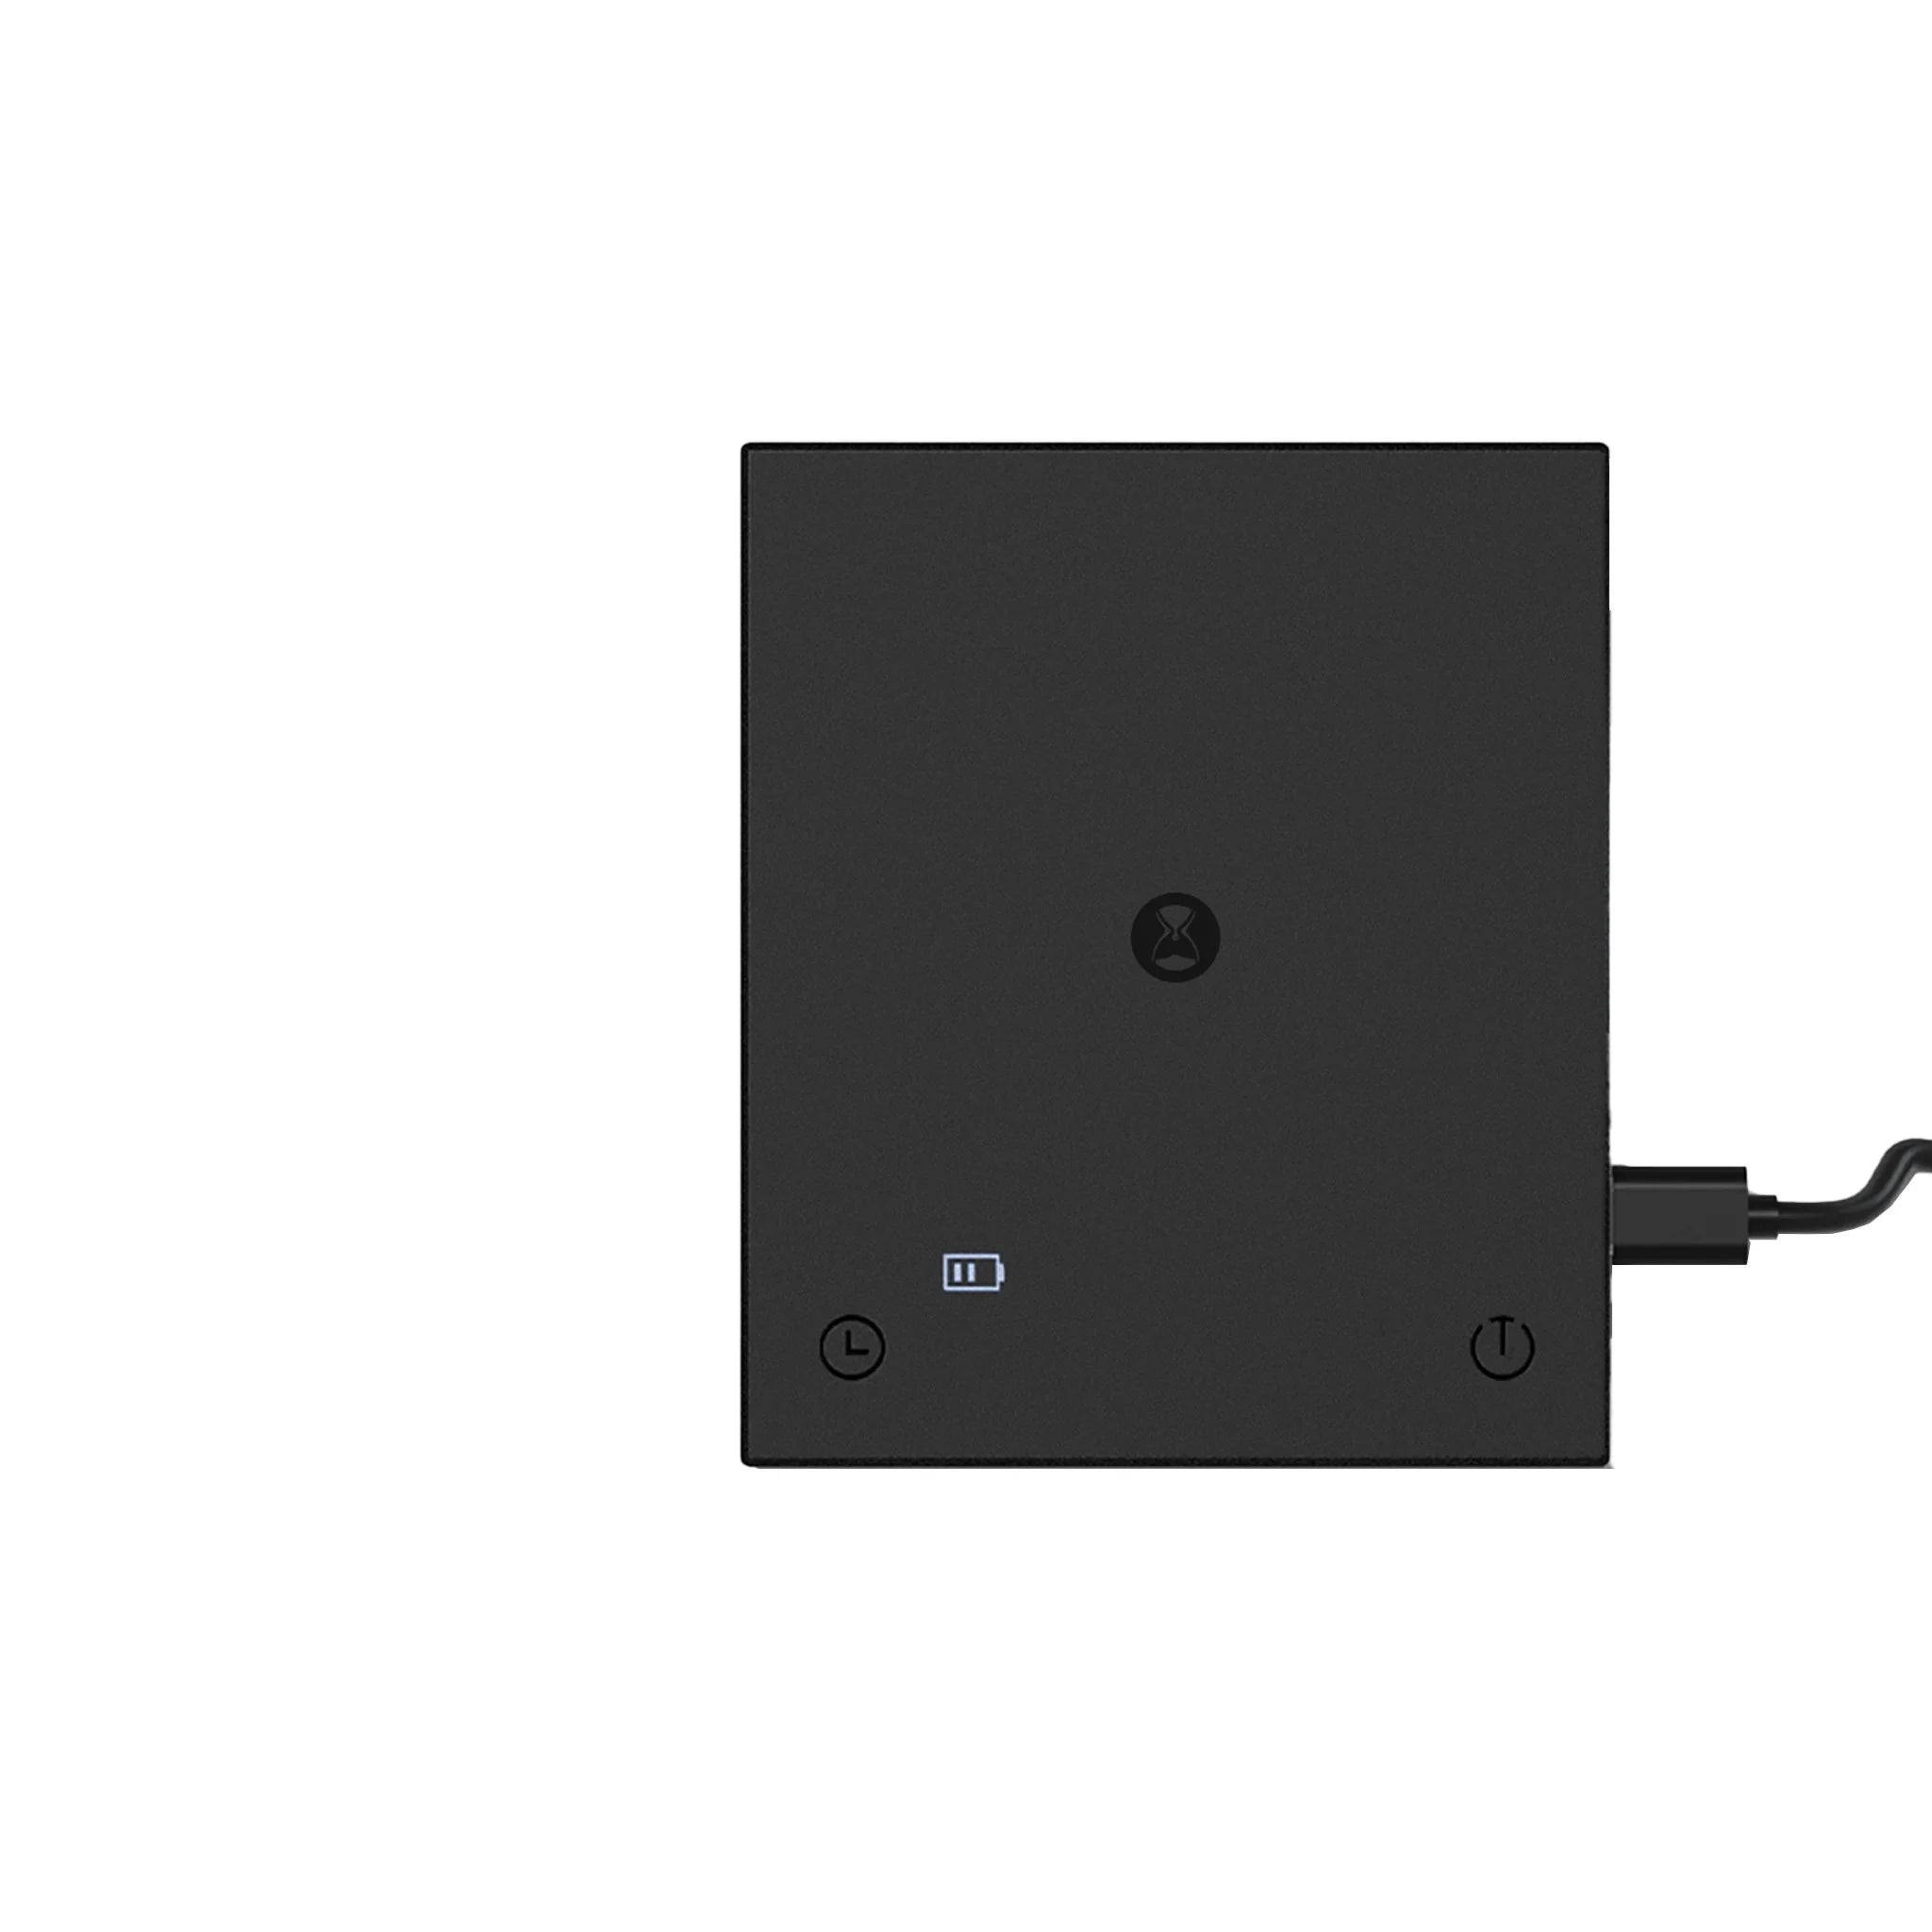
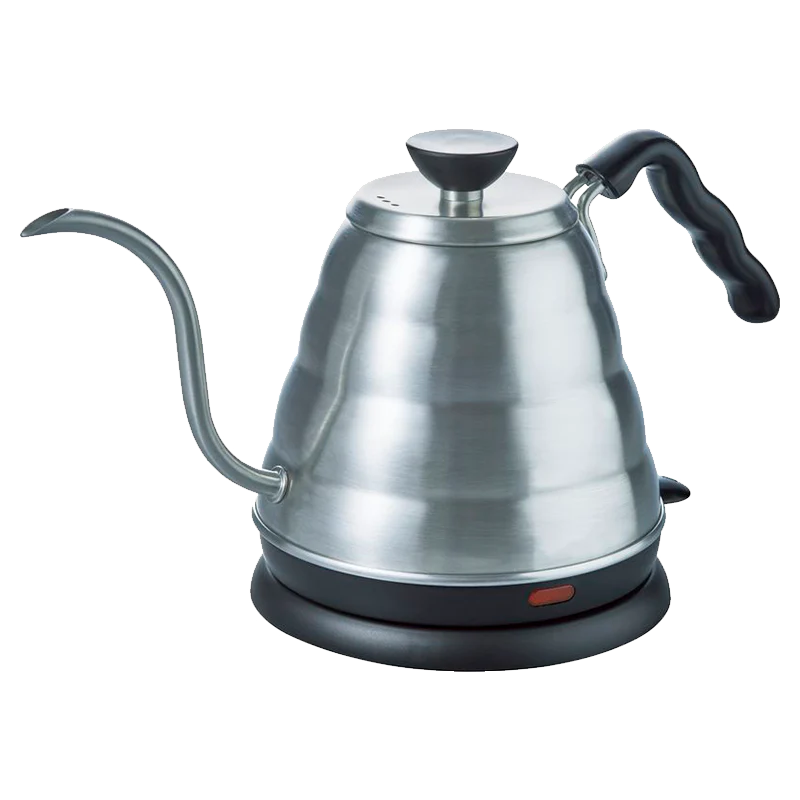
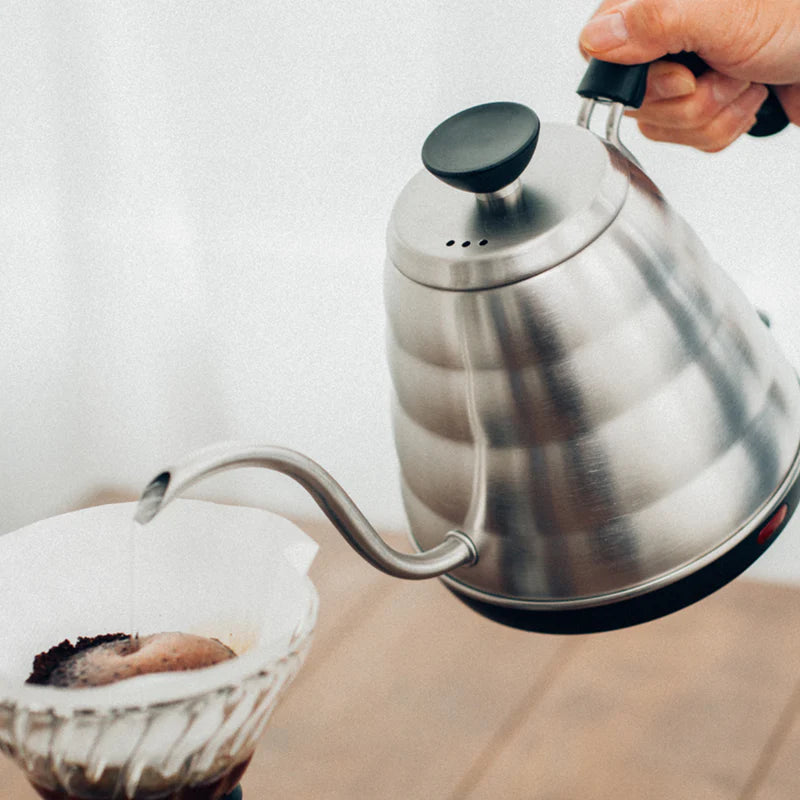
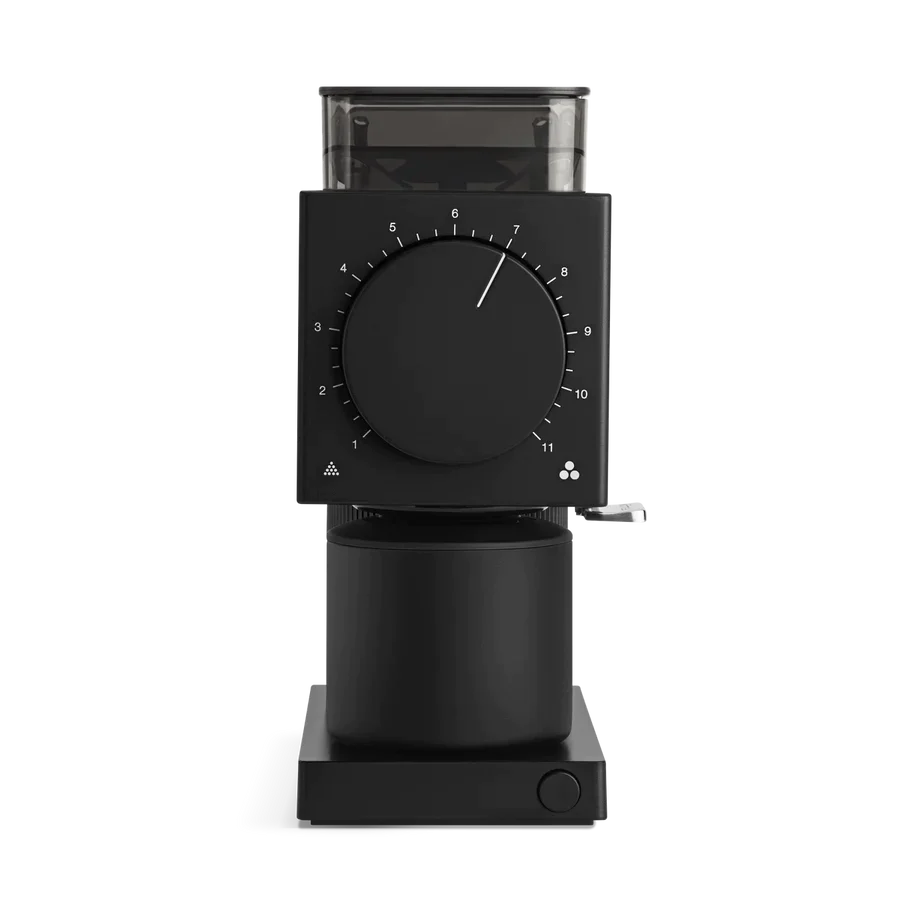
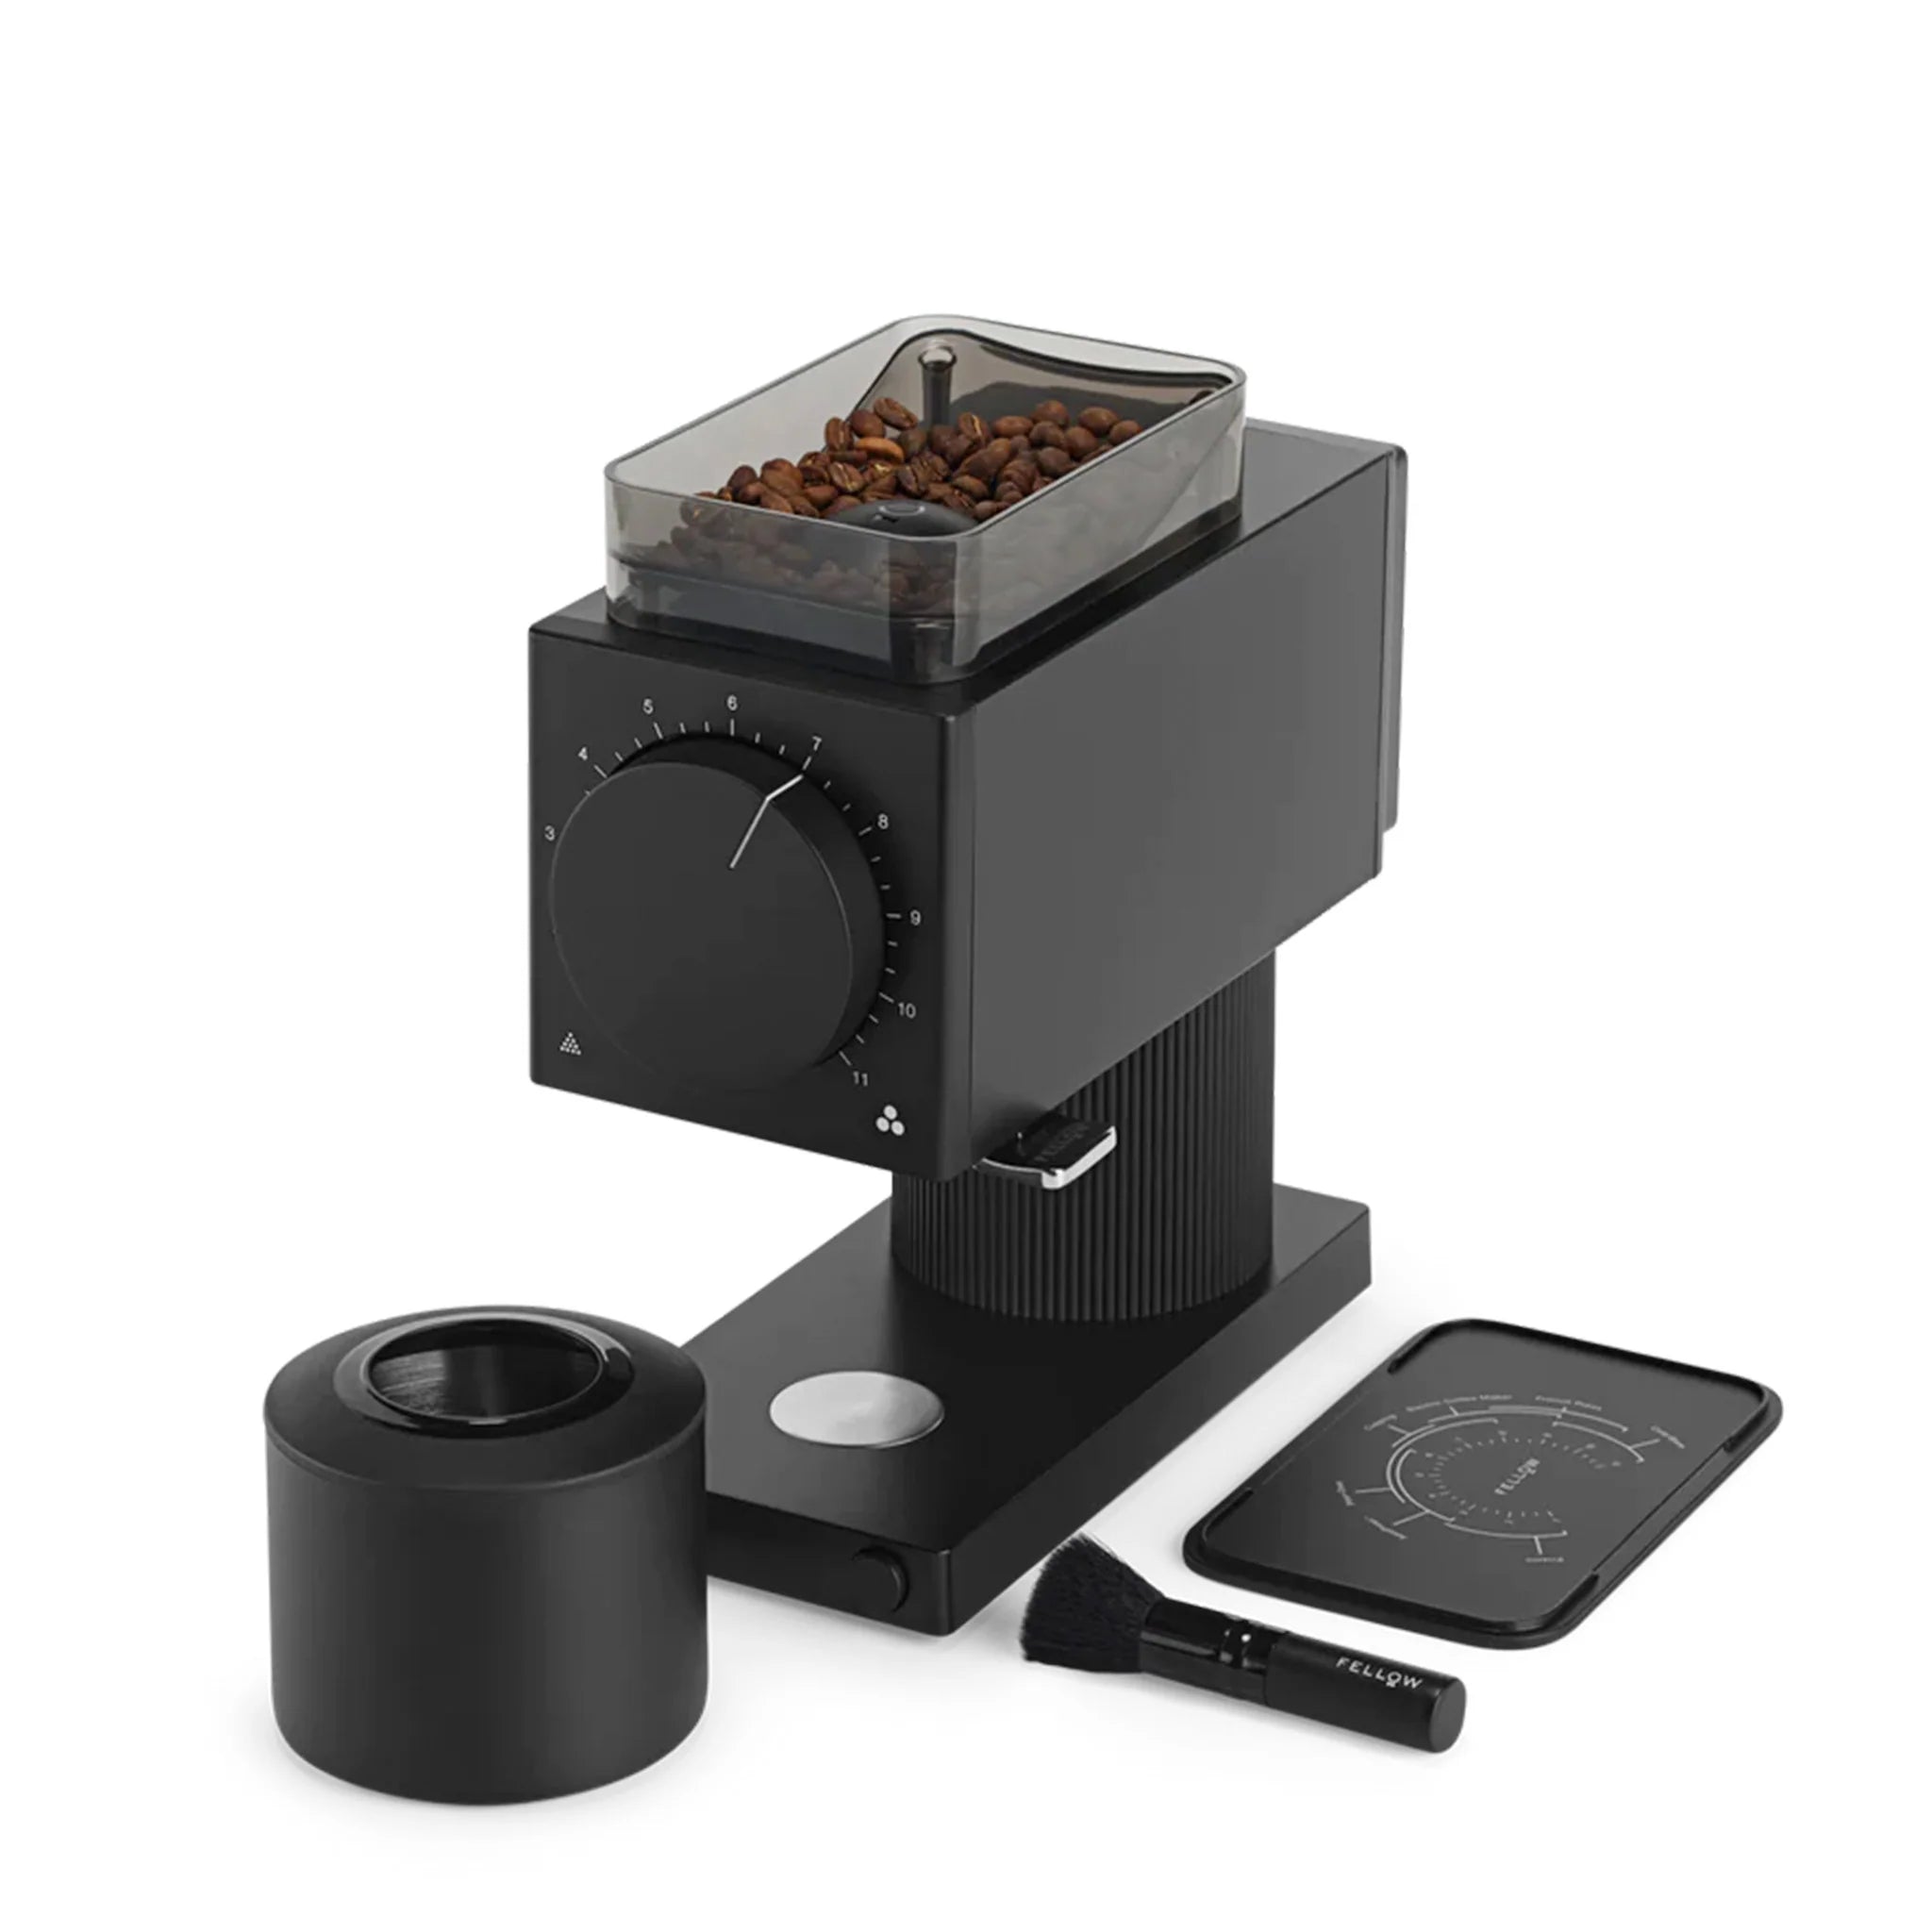
The Best Equipment for Aeropress
AeroPress concepts Explained
Standard / Inverted
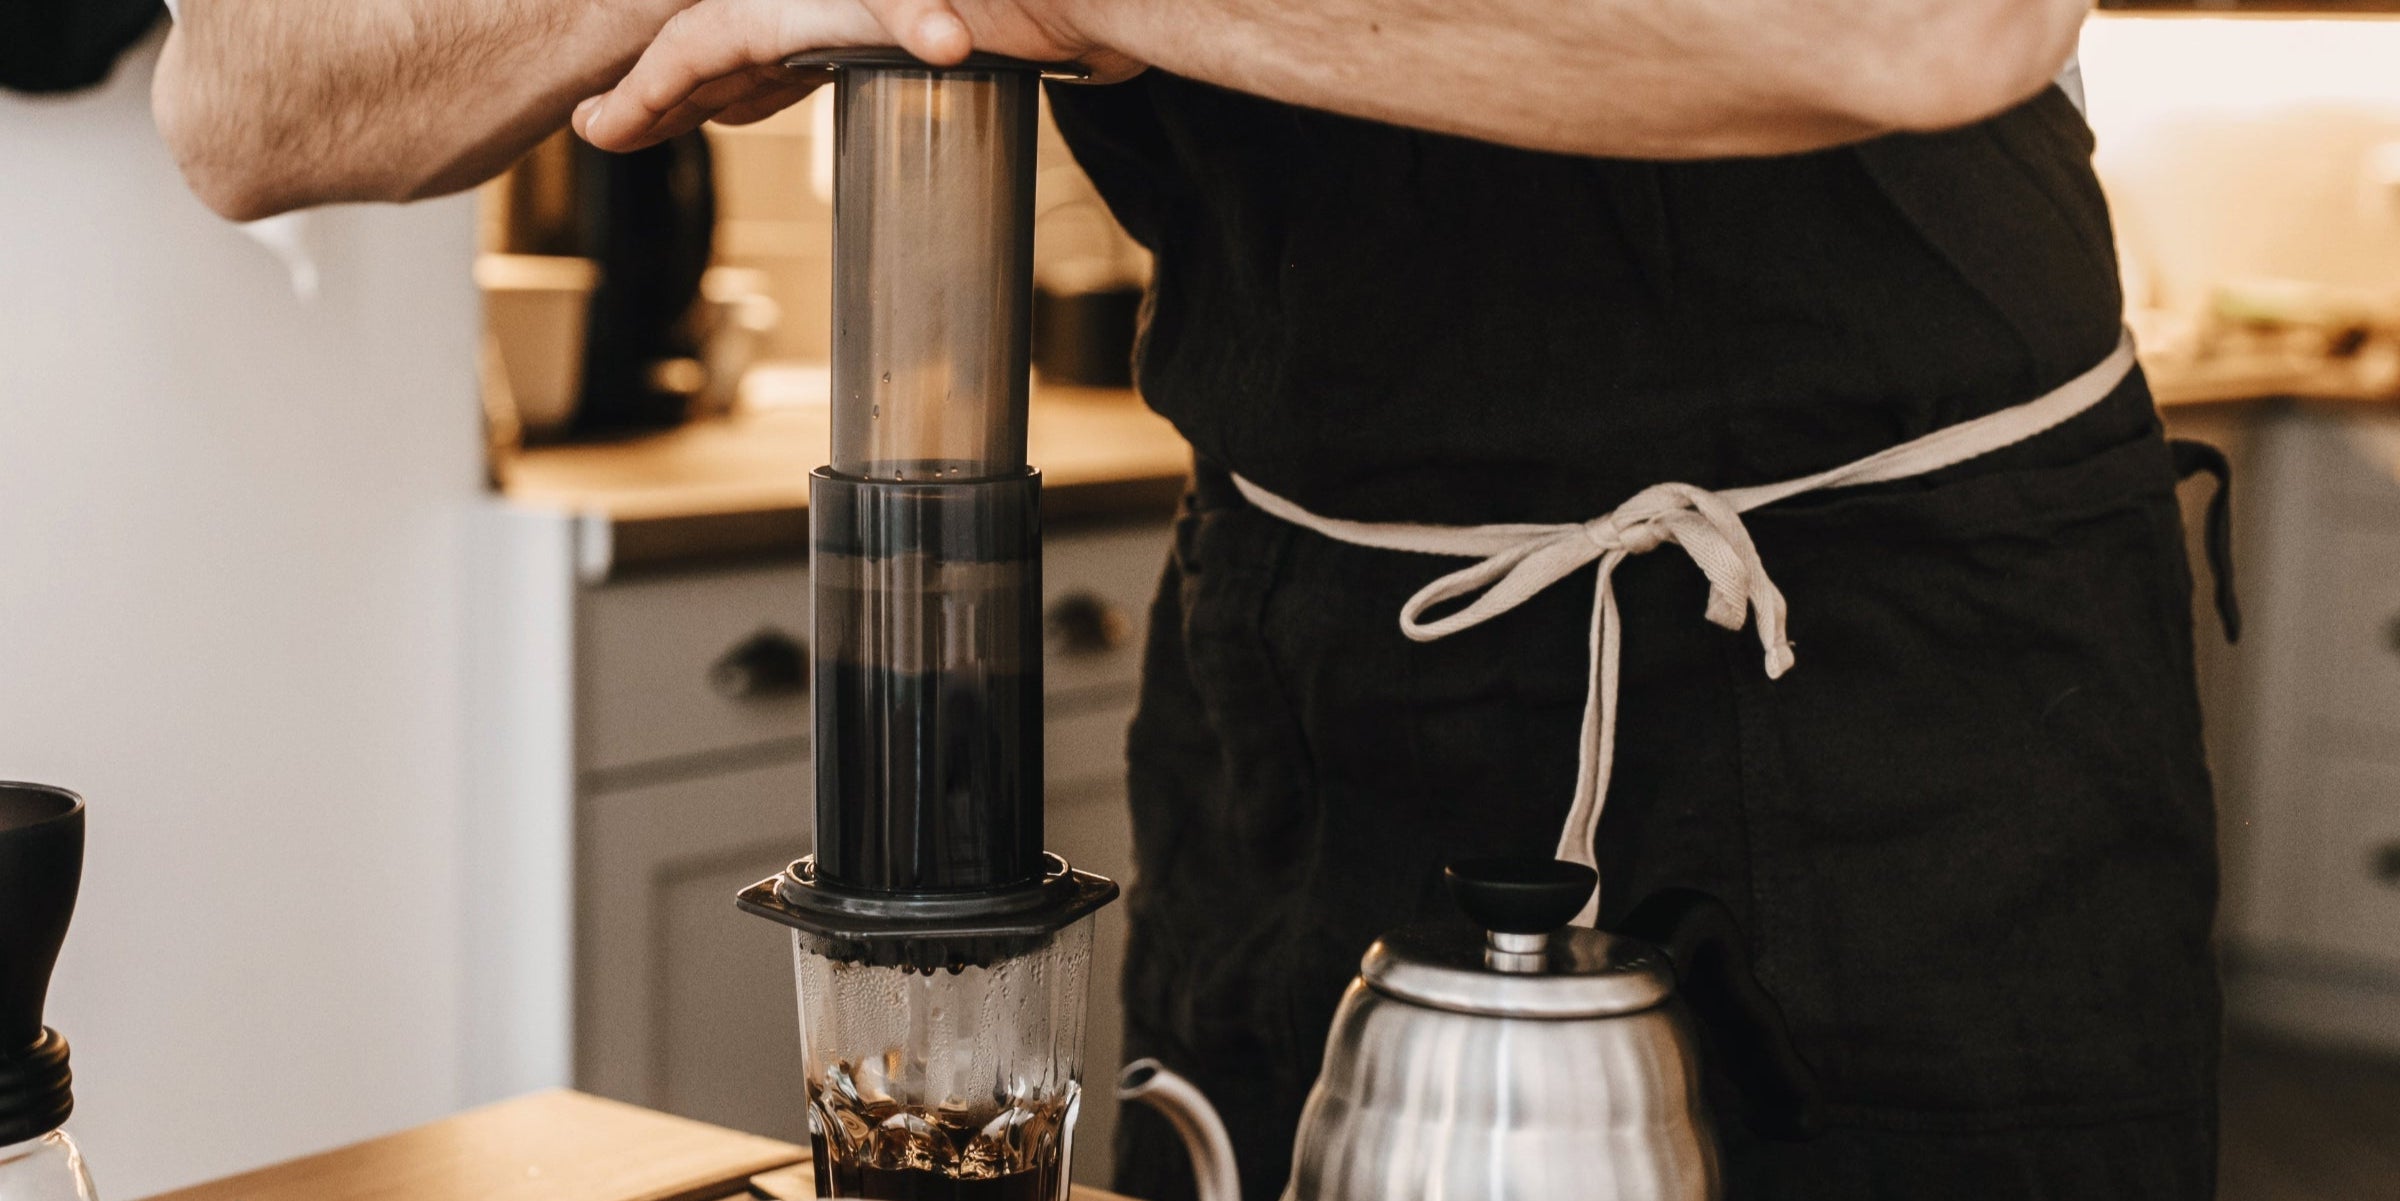
Standard method
The standard method is the simplest and safest way to use the AeroPress. The brewer sits upright on a cup or server with the filter attached at the bottom. Most recipes recommend inserting the plunger about 1 cm into the chamber after adding water—this creates a vacuum seal that prevents coffee from dripping through before you're ready to press. This method is ideal for faster extractions, lighter-bodied brews, and bypass recipes where dilution happens after brewing.
Inverted Method
The inverted method flips the AeroPress upside down, allowing for full immersion brewing without any water leaking through early. The plunger is inserted first, creating a sealed chamber where the coffee steeps until you're ready to flip and press. Many competition-winning recipes favor this method because it provides more control over steeping and extraction.
⚠️ Inverted Method Safety Warning
The inverted method provides more control over steeping but carries risks if mishandled. Flipping the AeroPress can lead to spills if it slips or wobbles, potentially causing burns, especially with near-boiling water.
Another issue is the seal between the plunger and chamber—improper insertion or an unstable surface can cause collapse. Air pockets can also create pressure shifts, leading to splashes.
To use this method safely, place the AeroPress on a stable surface and insert the plunger at least a centimeter for stability. Flip slowly while holding both parts firmly, keeping the cup close to minimize spills. Using slightly cooler water (85-90°C) reduces burn risk. Some users flip with the cup over the AeroPress or practice with cold water first.
If this seems unsafe, the standard method is a reliable alternative, producing excellent coffee—even in competition-winning recipes.

Bypass Brewing
AeroPress recipes often produce a more concentrated coffee than a typical filter brew, leading some methods to include a bypass step—diluting the final brew with additional water after pressing. This approach allows for greater control over the final strength and balance of the coffee while preventing over-extraction.
Without bypass, the full amount of brewing water is added to the chamber from the start, meaning the coffee steeps and extracts in one continuous process. With bypass, only a portion of the total water is used during extraction, and the rest is added afterward. For example, instead of brewing with 200 ml of water, you might extract with only 100 ml and then dilute with another 100 ml after pressing.
This technique is especially common in competition recipes and is favored for its ability to highlight acidity and clarity while reducing bitterness. It can also be useful when fine-tuning a brew—if the coffee tastes too strong, adjusting with bypass water is an easy way to tweak the intensity without needing to restart the whole process.
Water Temperature & Extraction
Water temperature plays a crucial role in coffee extraction, directly affecting how flavors are pulled from the grounds. Higher temperatures extract faster, bringing out bright acidity and complex floral or fruity notes, while lower temperatures slow down extraction, emphasizing sweetness and reducing bitterness.
For light-roasted coffee, hotter water between 96-99°C works best, as it helps extract delicate, high-acidity flavors. Medium roasts balance well with temperatures in the 90-95°C range, creating a more rounded and sweet cup. Dark roasts tend to over-extract quickly, so cooler water around 85-90°C is ideal to prevent bitterness.
If your AeroPress brew tastes too sour, increasing the temperature slightly can help extract more sweetness. If it tastes bitter or overly harsh, lowering the temperature may lead to a smoother, more balanced result. Some advanced recipes use a combination of temperatures, starting with a hot extraction phase and finishing with cooler bypass water to fine-tune the profile.
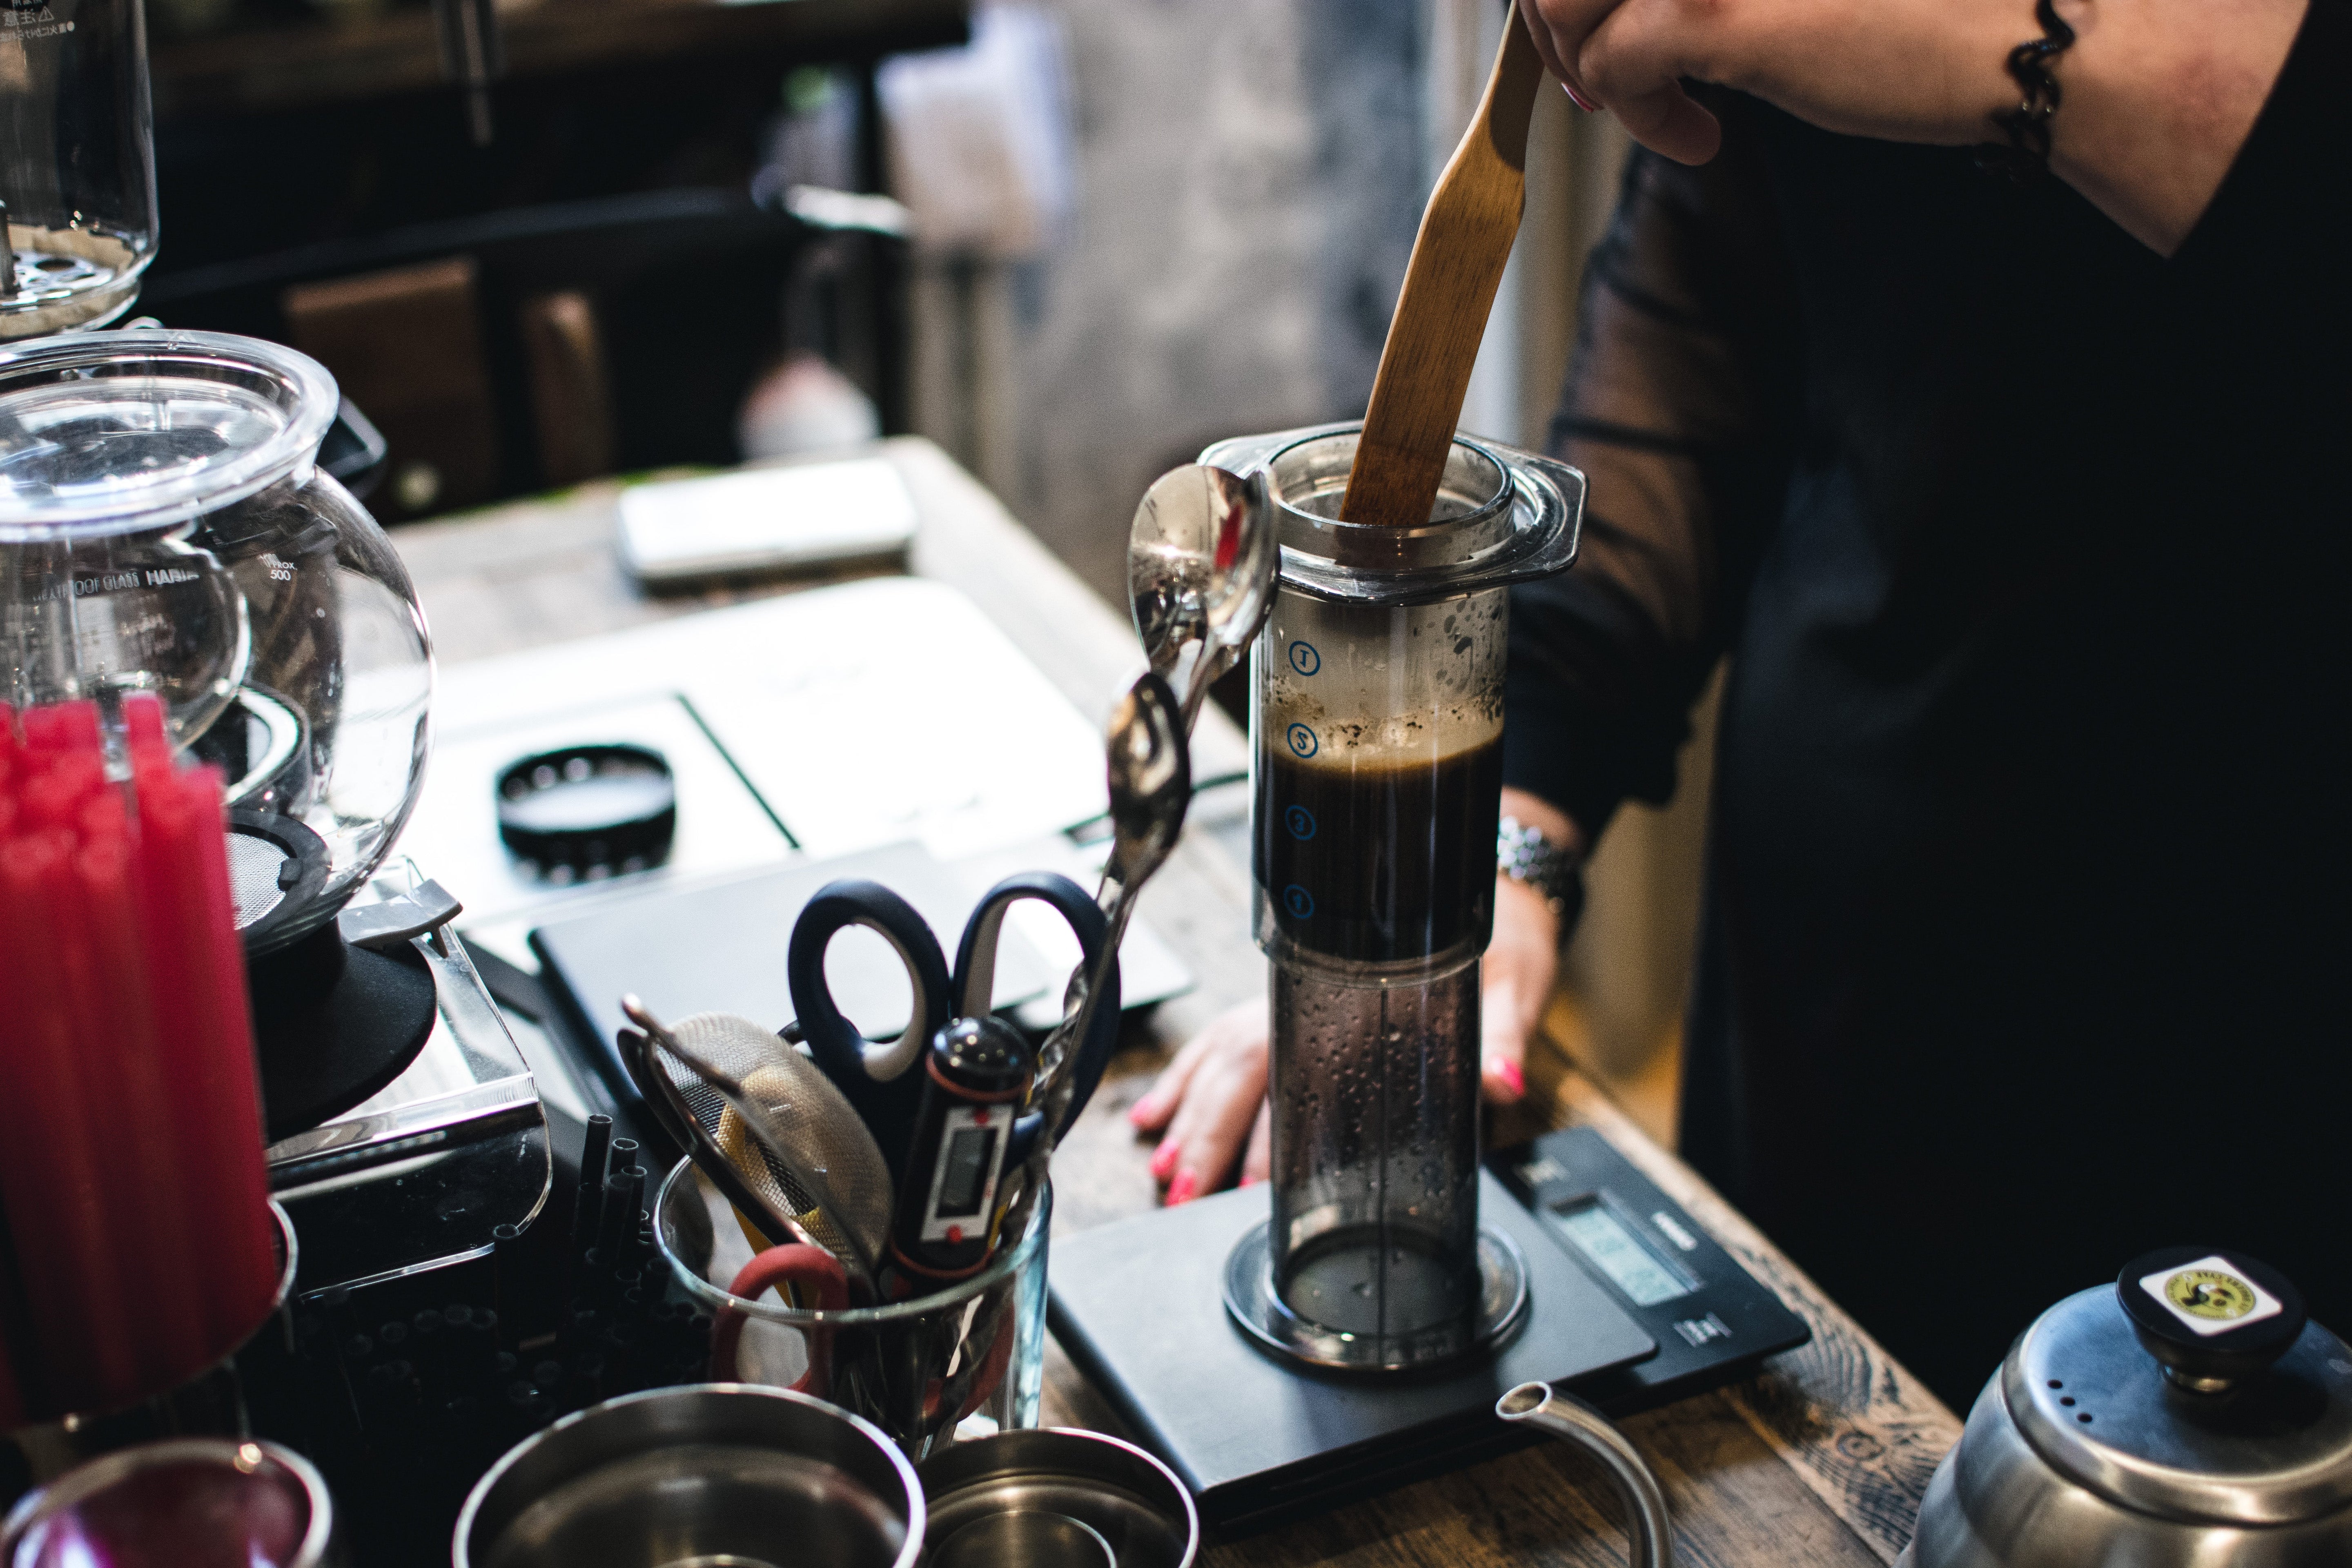
Plunge Time & Pressure
The speed and force used when pressing the AeroPress plunger affect the final texture and clarity of the coffee. Pressing too quickly can create turbulence, pushing fine coffee particles through the filter and resulting in a muddier cup. A slow, controlled press allows for more even extraction and helps prevent unwanted bitterness.
A fast plunge of 10-15 seconds typically results in a lighter-bodied coffee with more acidity, as the extraction time is reduced. A medium-speed press of around 30 seconds is a good balance, producing a well-rounded brew. A slow press of 45 seconds or more can lead to a heavier body but may also risk over-extraction.
If the AeroPress feels too resistant when plunging, the grind size may be too fine, or the filter could be clogged with fines. In that case, adjusting to a slightly coarser grind can improve the flow rate. If pressing feels too easy and the coffee tastes weak, a finer grind can help slow the flow and increase extraction.
The key to a great AeroPress press is consistency. Applying steady, even pressure ensures that the coffee is extracted smoothly without introducing unwanted variables. Some recipes, especially those designed for clarity, even recommend stopping just before hearing the final "hiss" to avoid pressing fines into the cup.
Grind Size & Its Effects
Grind size is one of the most significant variables in an AeroPress brew, directly impacting how quickly coffee extracts and how easily water flows through the coffee bed. A finer grind increases surface area and accelerates extraction, but it can also lead to excessive resistance when pressing. A coarser grind slows extraction and makes plunging easier, but if it's too coarse, the coffee may end up weak or under-extracted.
Most AeroPress recipes use a medium-fine to medium-coarse grind. A setting similar to table salt is a good starting point for standard recipes, while competition-style brews often lean toward a coarser setting similar to coarse sugar. If the coffee is coming out too bitter, a slightly coarser grind can help, while a sour or weak brew usually benefits from a finer grind.
Find your next coffee to try
The best coffee for Aeropress